
The restoration, the ultimate key to have beautiful bayonets
For
any collector, whether beginners or advanced, the search of a piece
that could complement its collection is a privileged moment. But, all
thoses efforts are sometimes frustrated when he is in front of this
piece on the vendor's display, in a rusted out condition, with a
already deep corrosion or pitting.
Indeed, it is rare to find
pieces of which the
condition is almost mint as in the previous example.
So you have to do a quick choice: either giving up, or buying it with
some worries because we know exactly that we'll not be able to restaure
it in its original condition. But who knows? and what if there was a
way to make the aspect looks better?
In this page, we'll see
that there are opportunities to reduce the rust without altering the
original blue,but of course, we need patience and a some equipment.
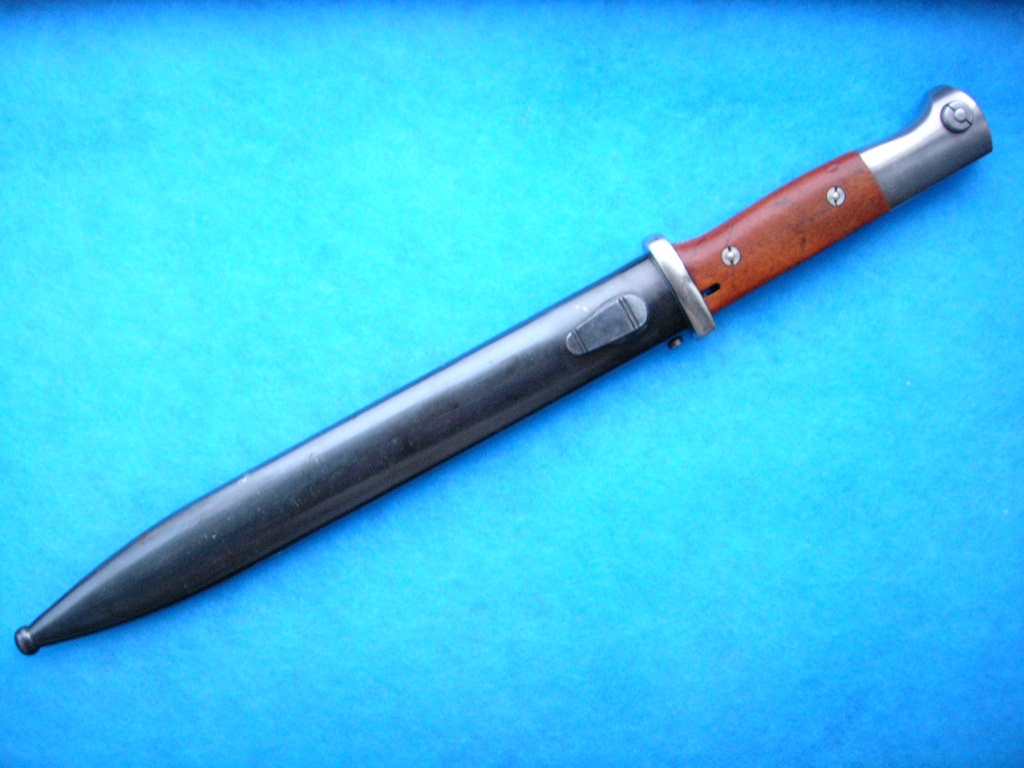
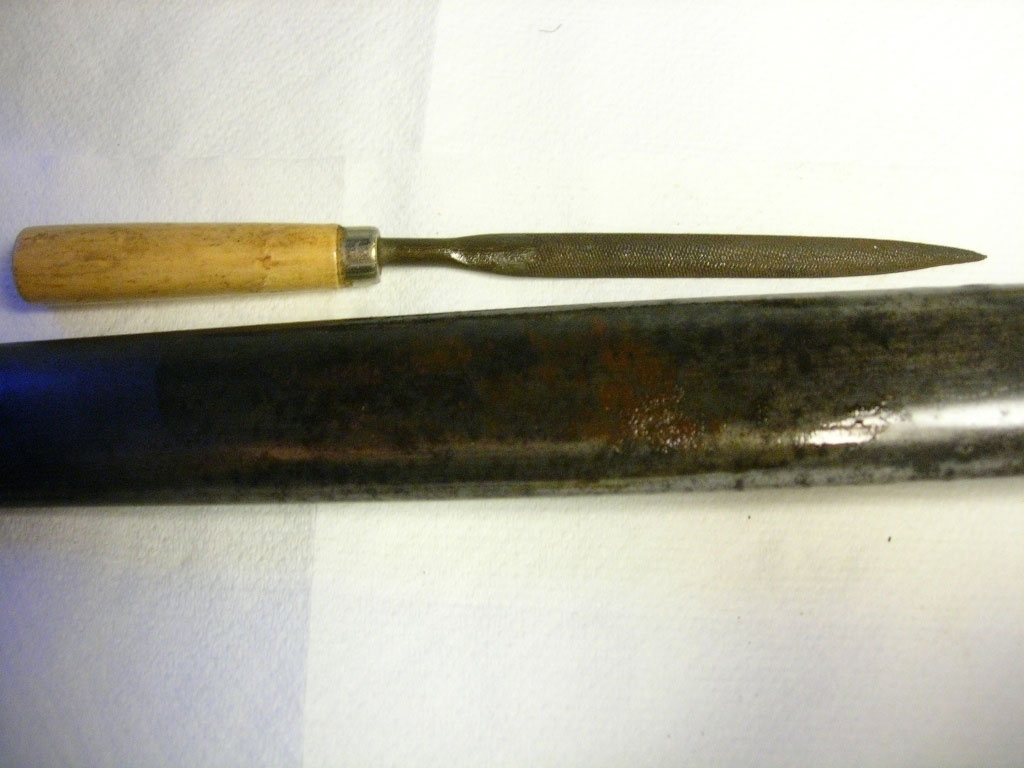
Here we can see a bayonet
84/98 2nd pattern which seems in good condition : (click on pictures for
details), the blue scabbard looks good without much surface
rust. In
reality, when I found it, it was pitted by rust, I hesitated before
buying but its original blue covering a large area, and its good overal
condition changed my mind.
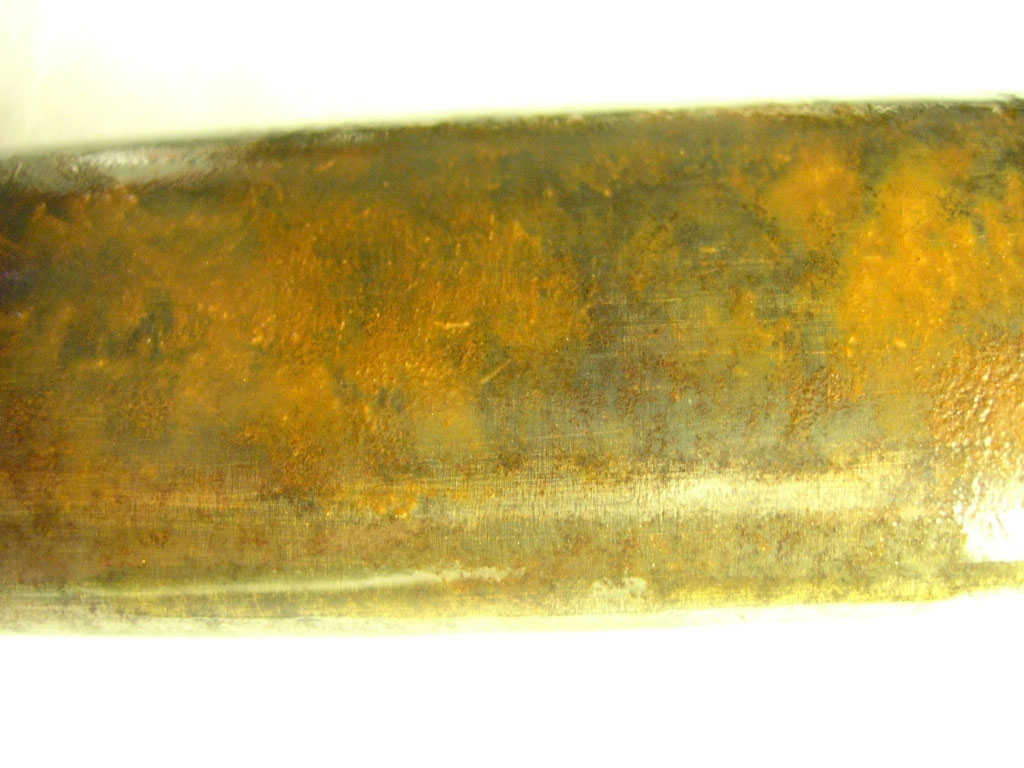
However, it is a pity that
people dammage these pieces that reflect a
glorious past, often leaving them in a damp basement, thinking that
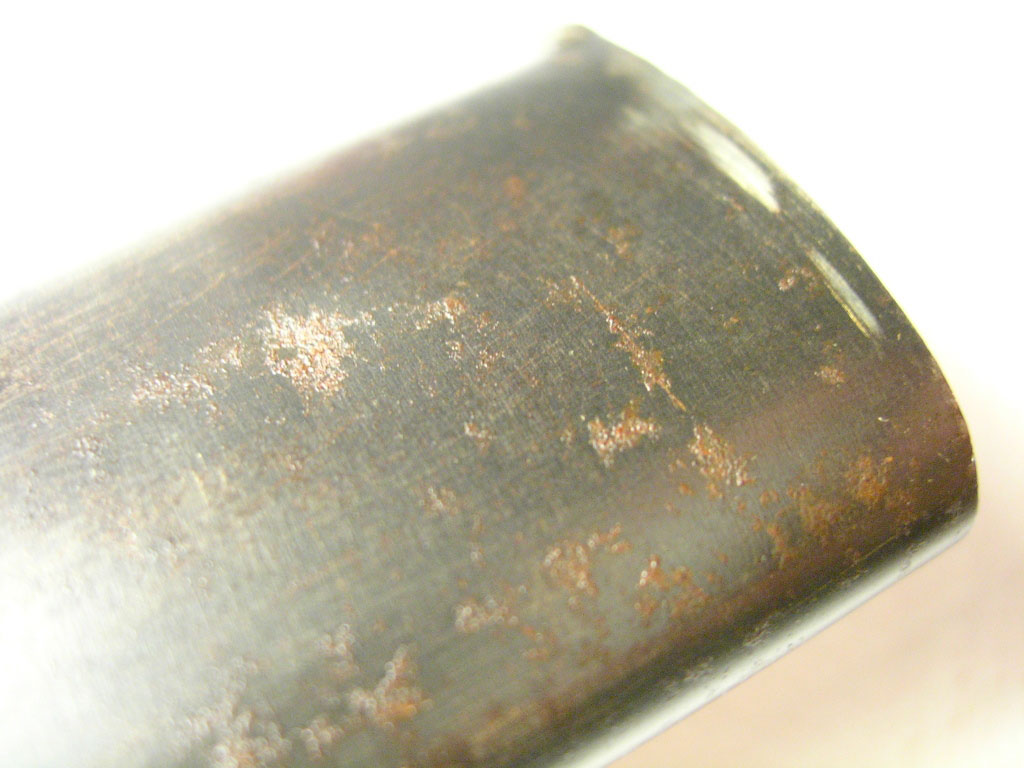
this is the only place that can suit. In this case, we can see that the
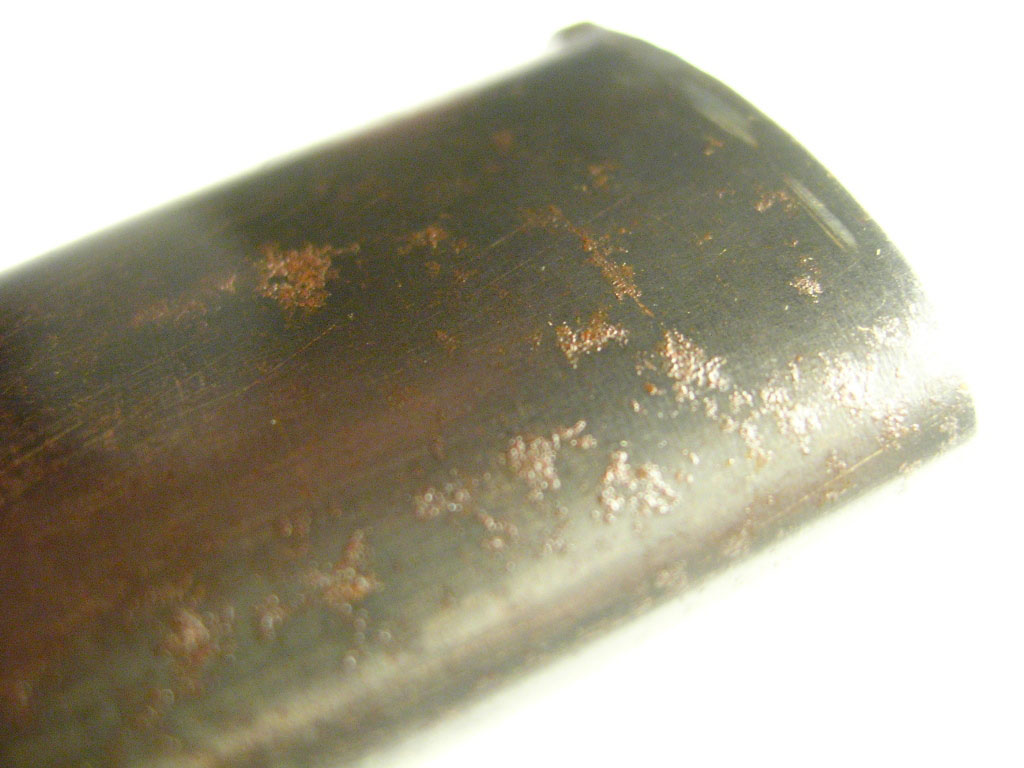
whole area shows scattered rust spots and rust pittings.
We note that rust, a kind of metal cancer, is light brown and may
suggest that the piece was in contact with oxygen and humidity, and
thus we hope there are not a lot of internal dammages.
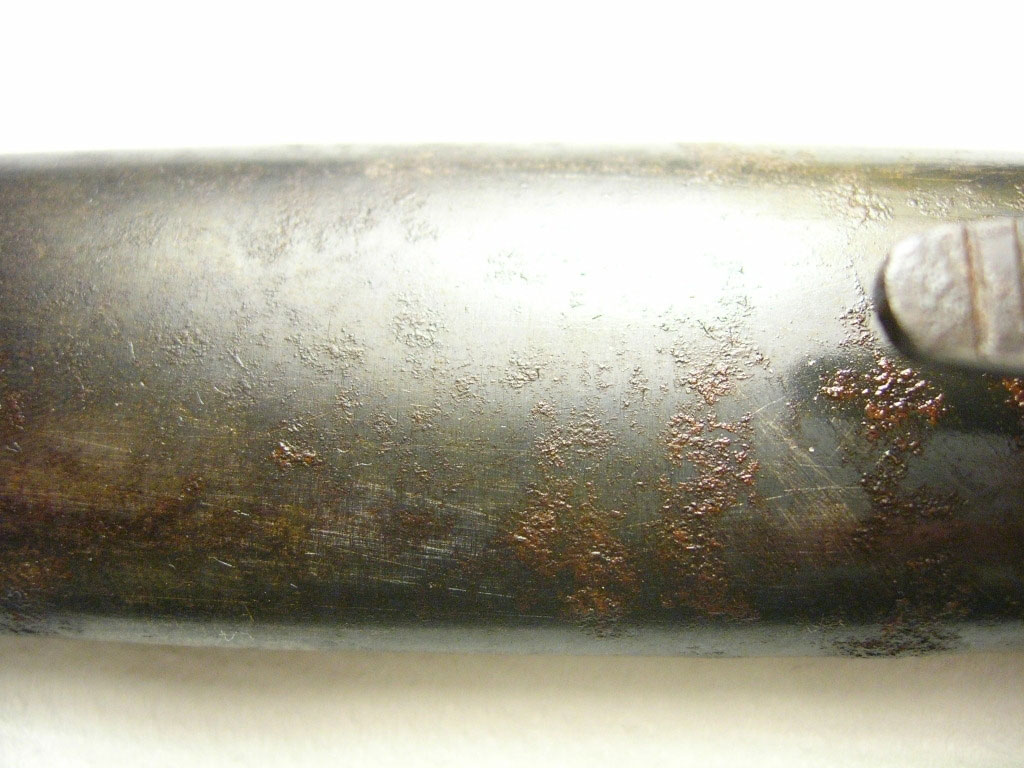
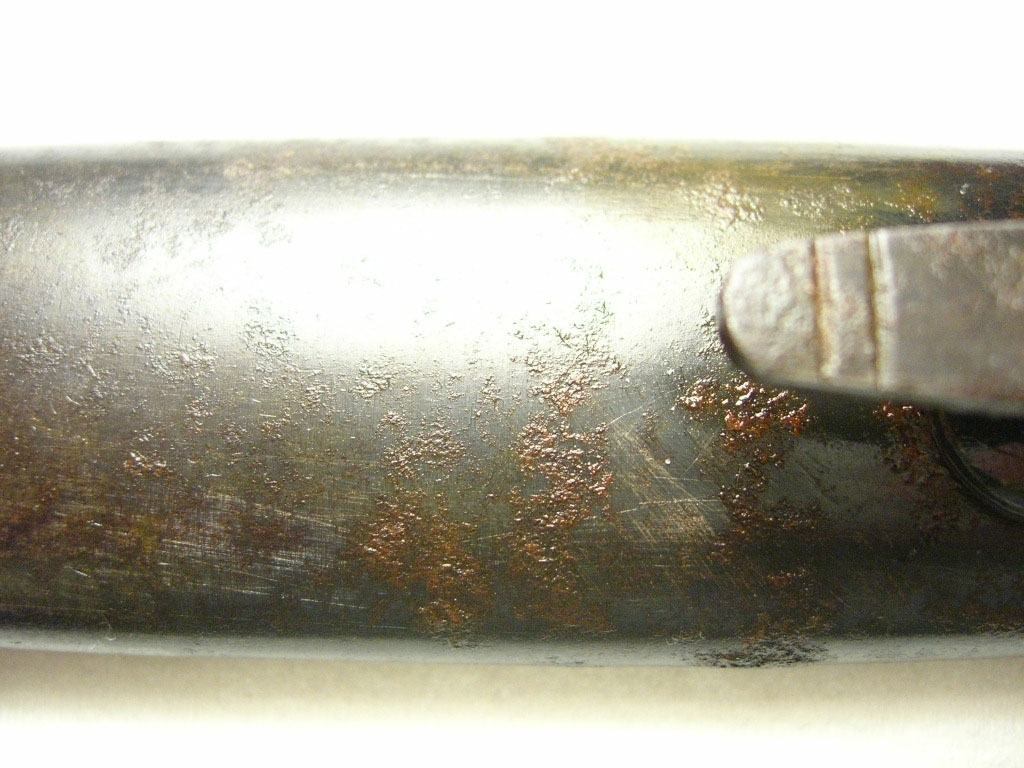
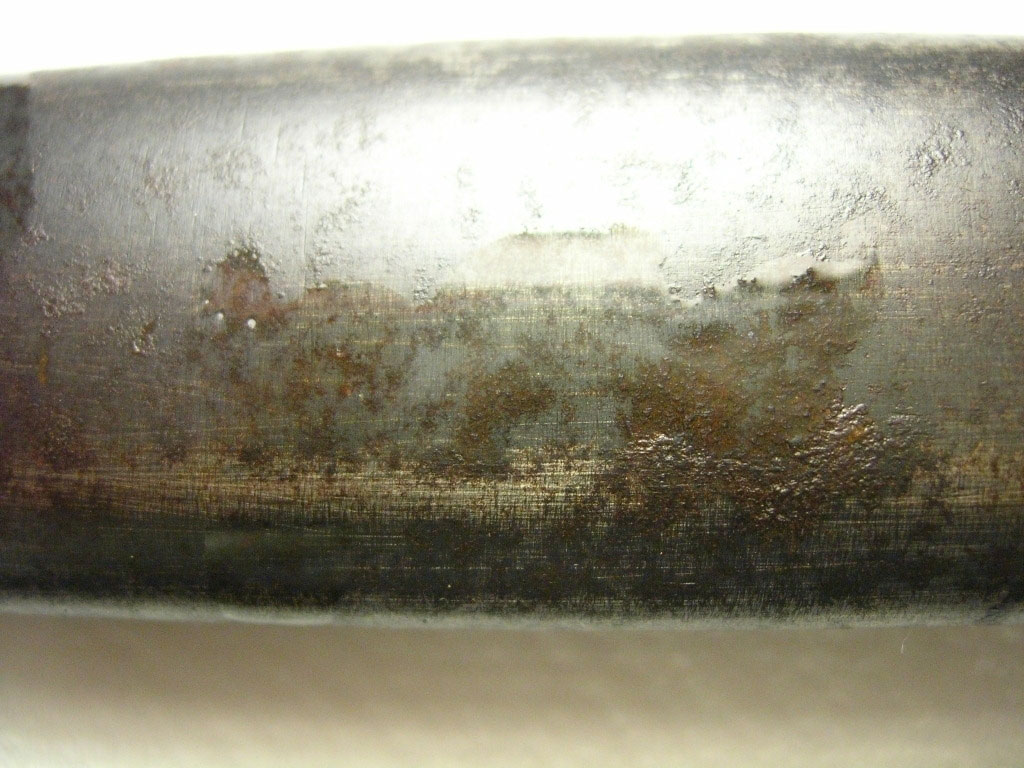
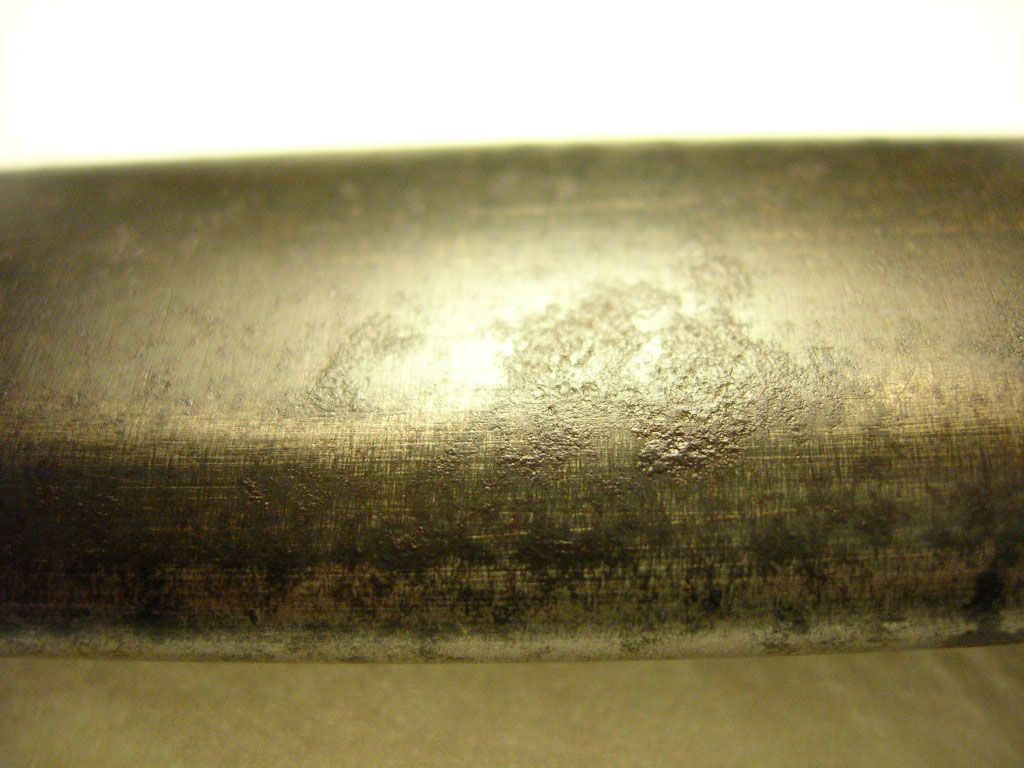
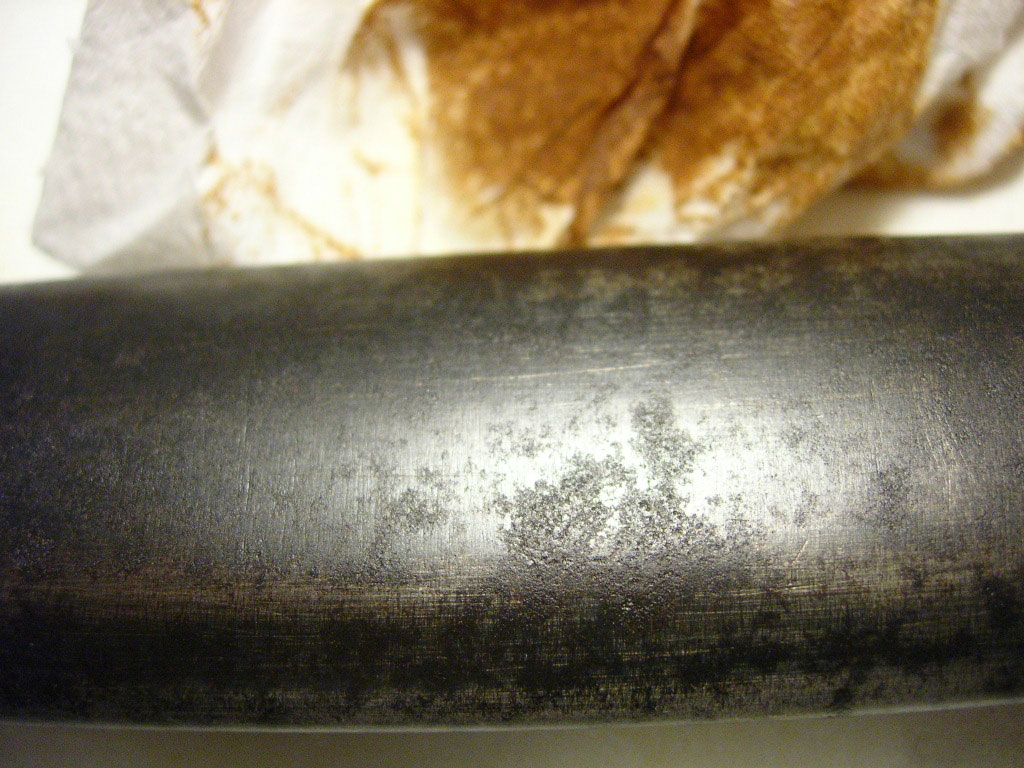
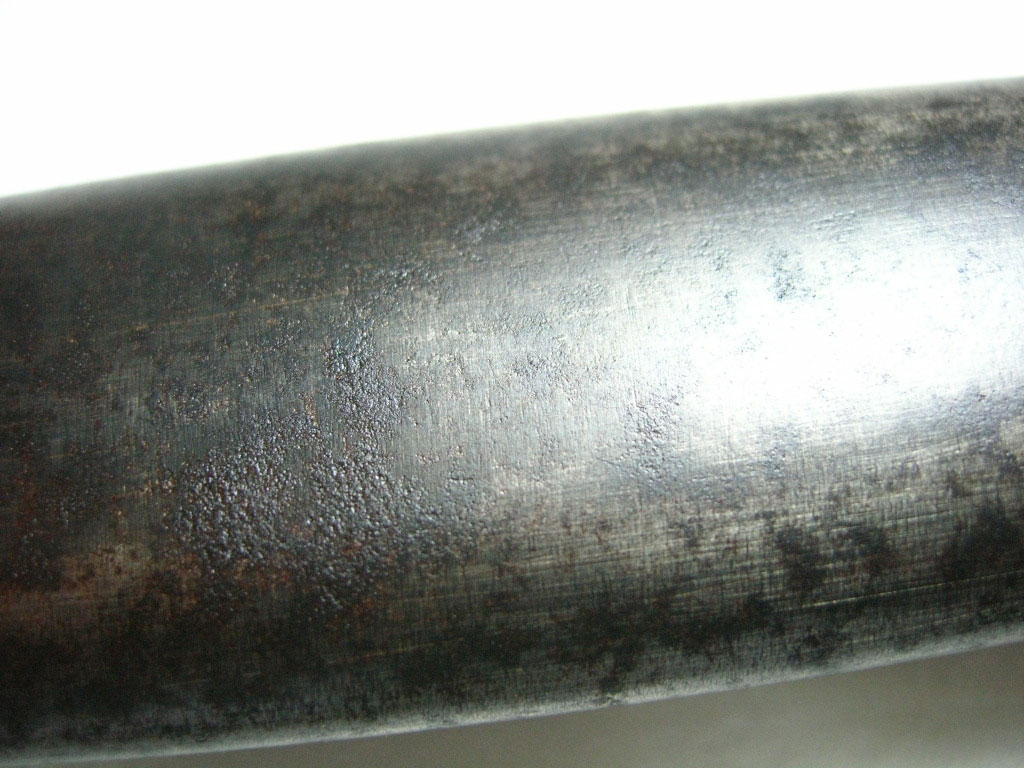
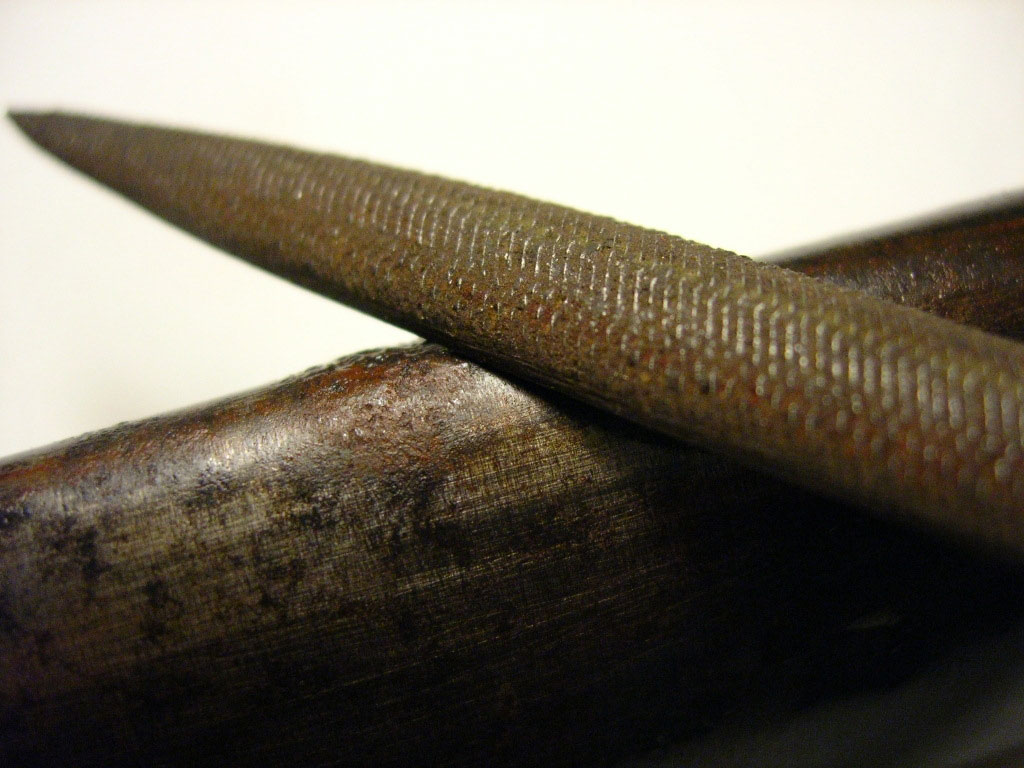
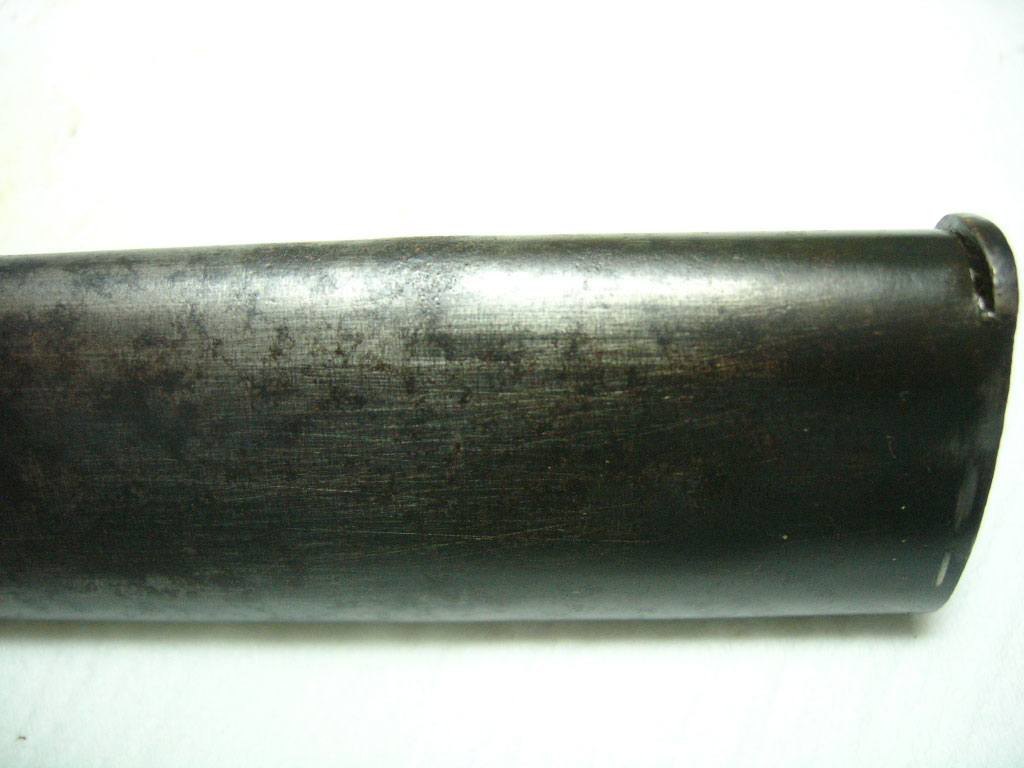
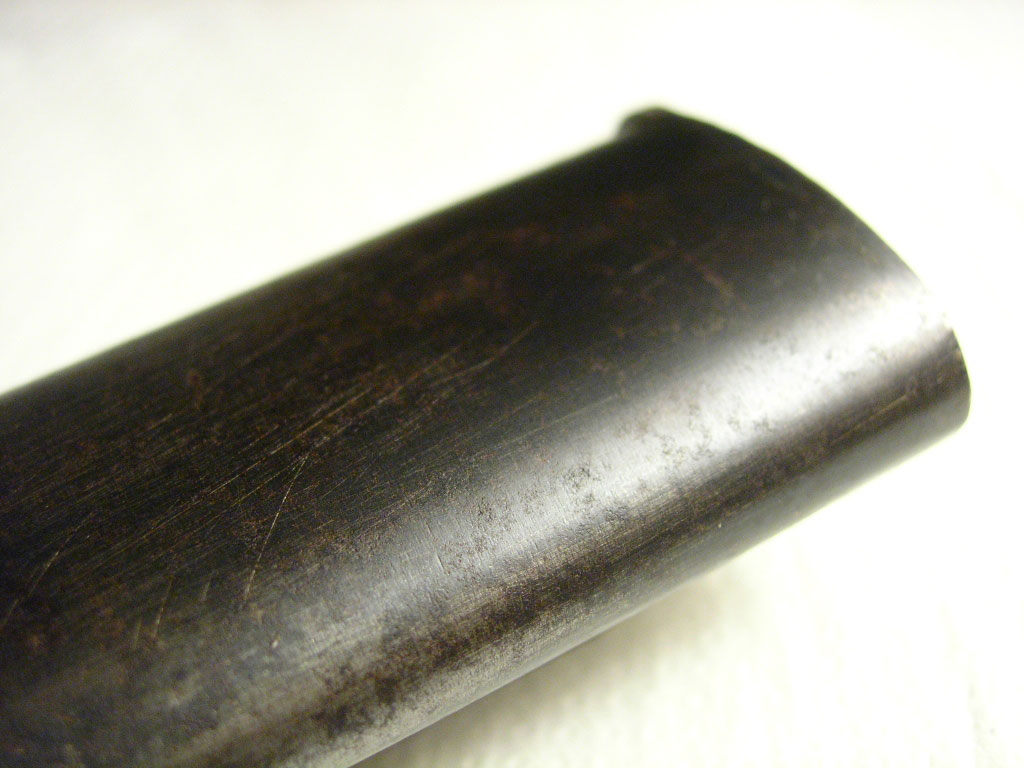
To do this, I take as an
example a rust pit in the middle of the scabbard which is an area
easily accessible. The rust on it is important but its volume is formed
outwards and it is a good sign.
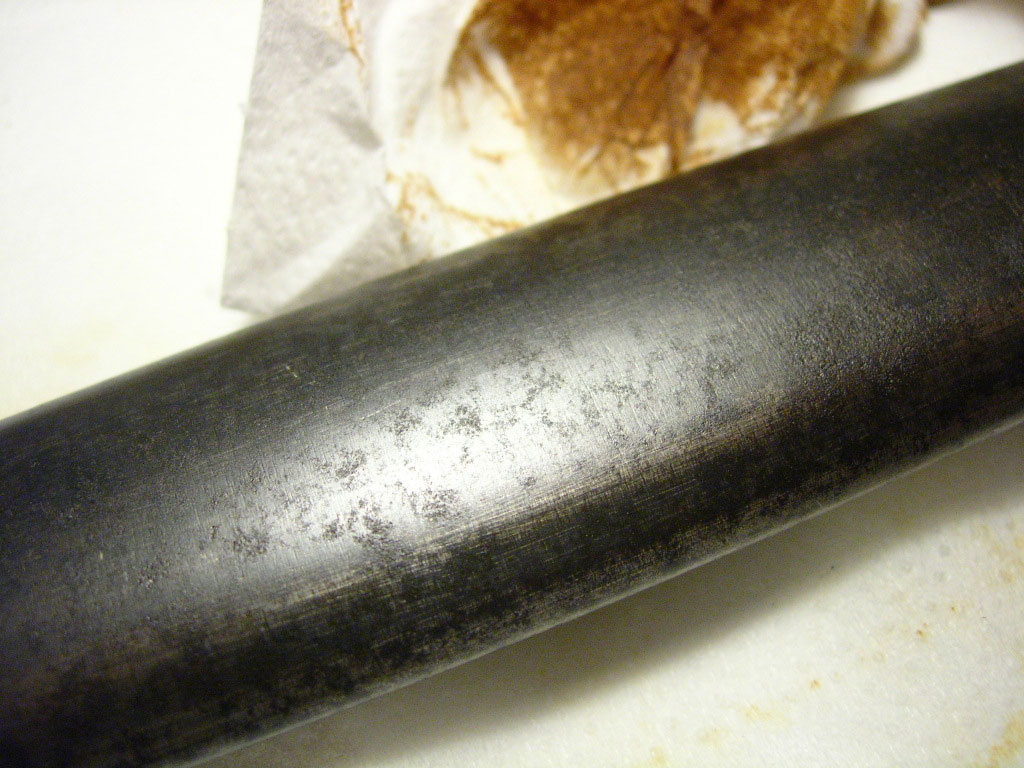
As a first step, I coat
the surface with oil or petroleum jelly which
are not not too aggressive for not chemically alter the blue (avoid the
WD 40). I spread oil to penetrate deeply and I expect that the
rust be soaked.

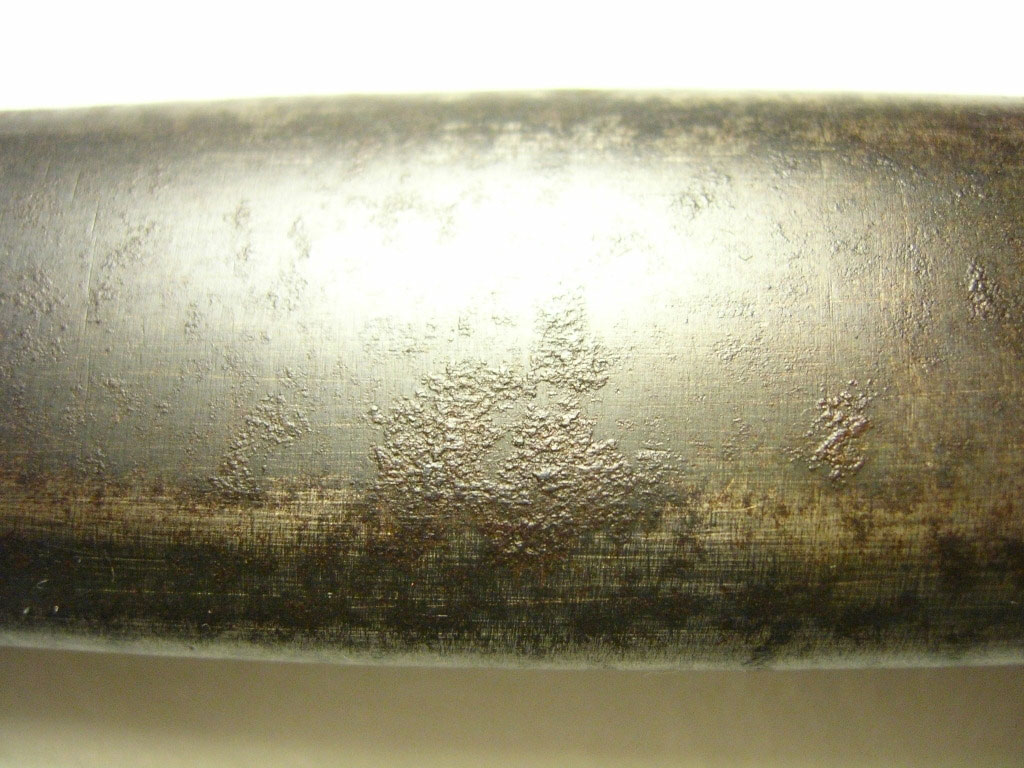
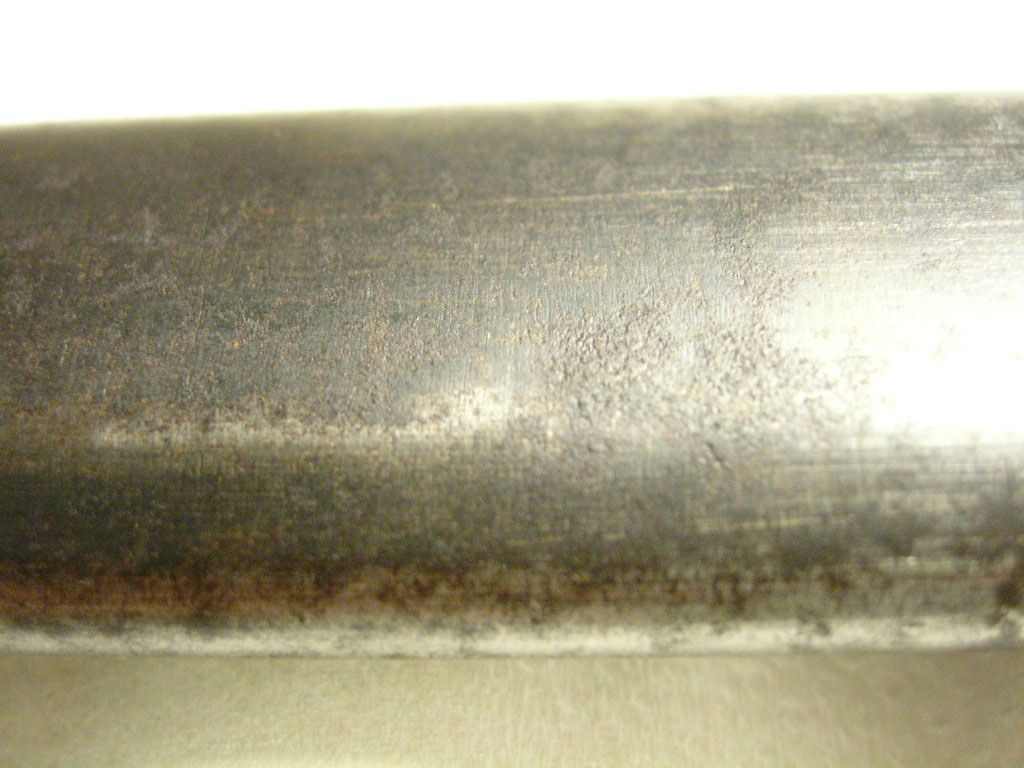
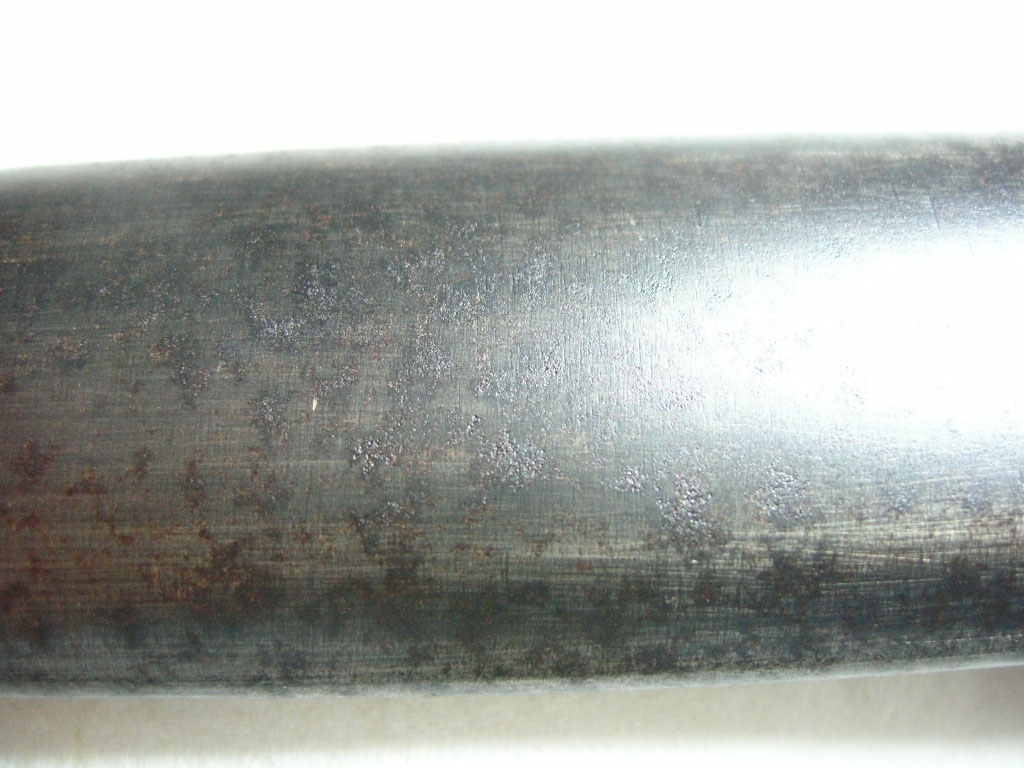
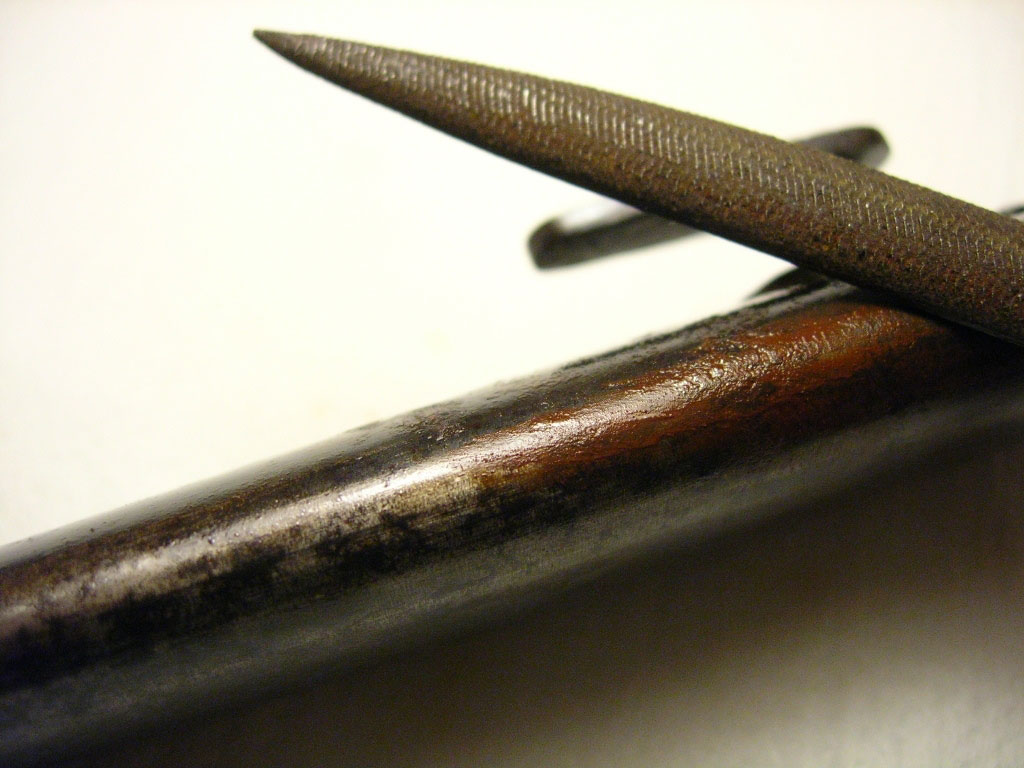
It
is easier to work the rust once it is
weakened by the oil. Then it allows to make slight movements as a "8"
without pressing with a small steel file or diamond file. Gradually, as
the rust goes away we can note that steel is not scratched. You have to
repeate this operation and you have to wipe out often with a cloth.

Sometimes,
when the roughness of the rust is
too important, I take a small brush with steel thread (or brass thread
according friability of the rust) that I use with a small drill. It is
better to use the brush at low speed.

It
is important to understand that we should
not use this same small brass brush on the whole surface because there
are big risks to make disappear quickly the original blue. It may cause
irreversible marks leaving a polished steel aspect.
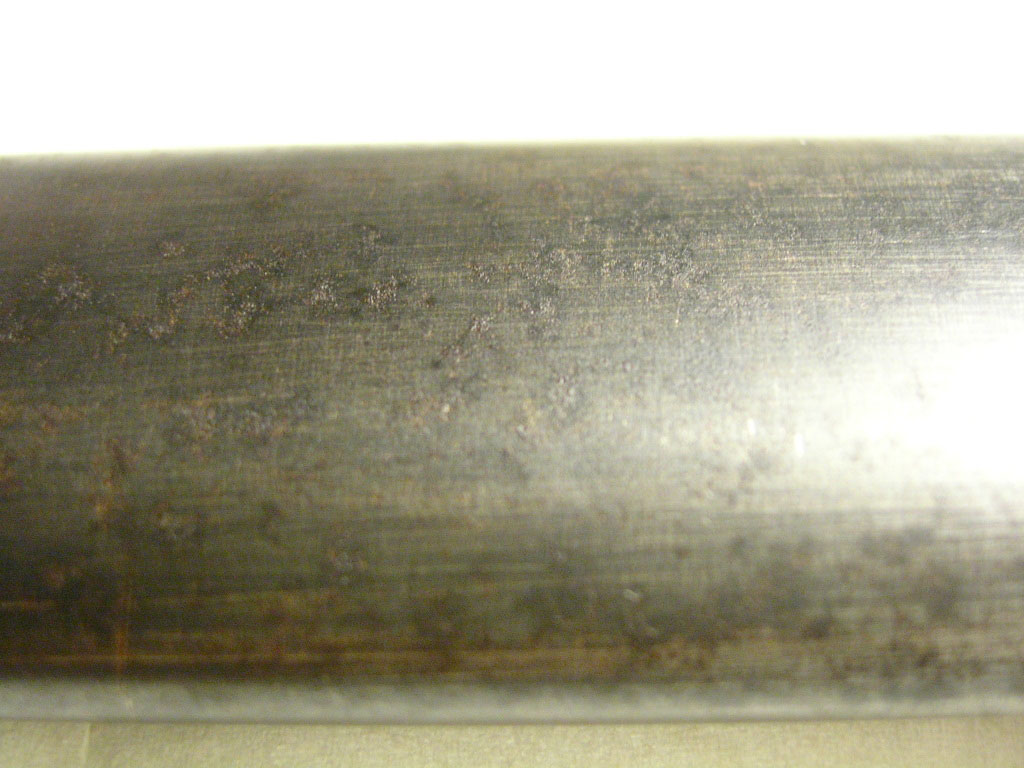
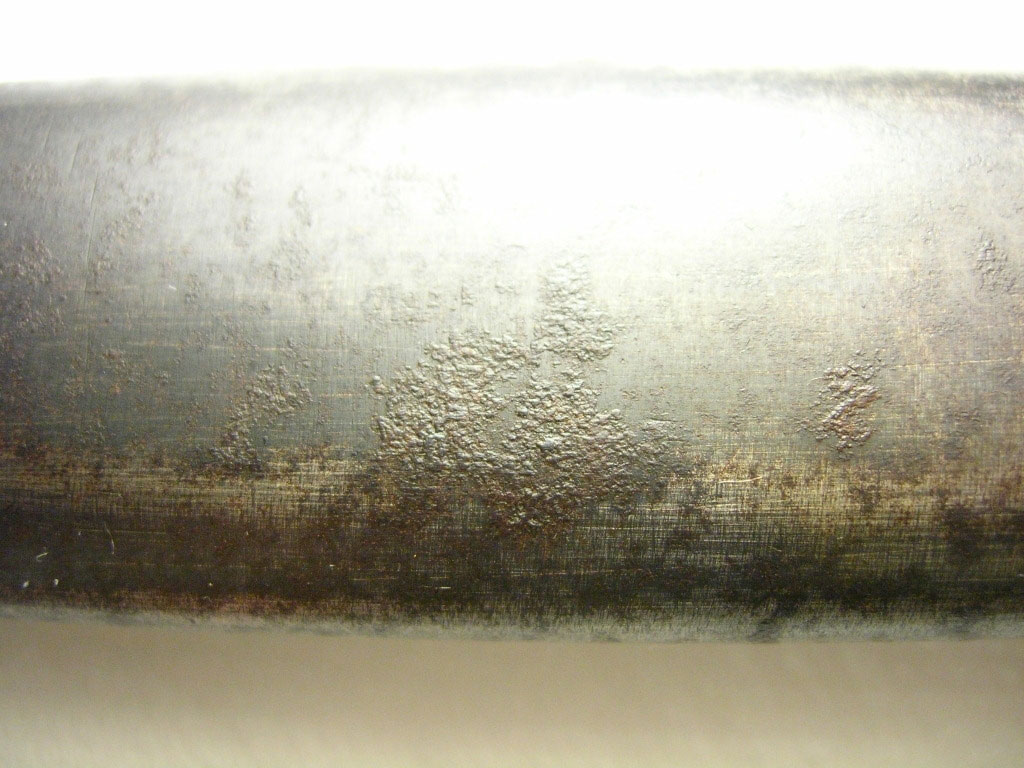
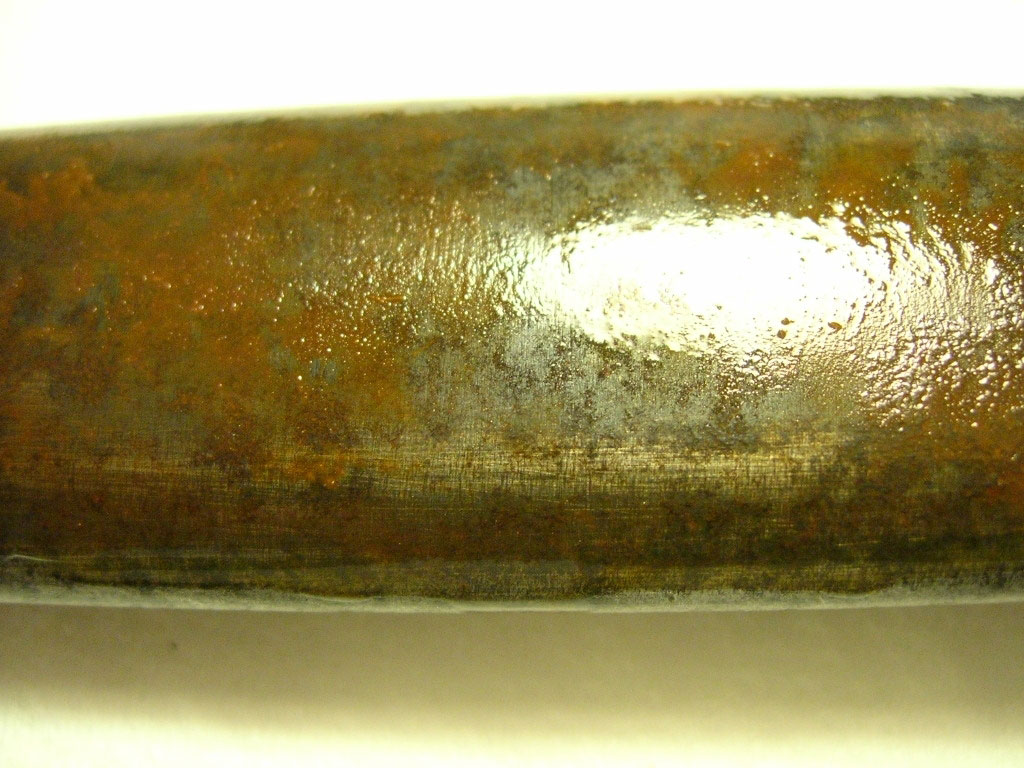
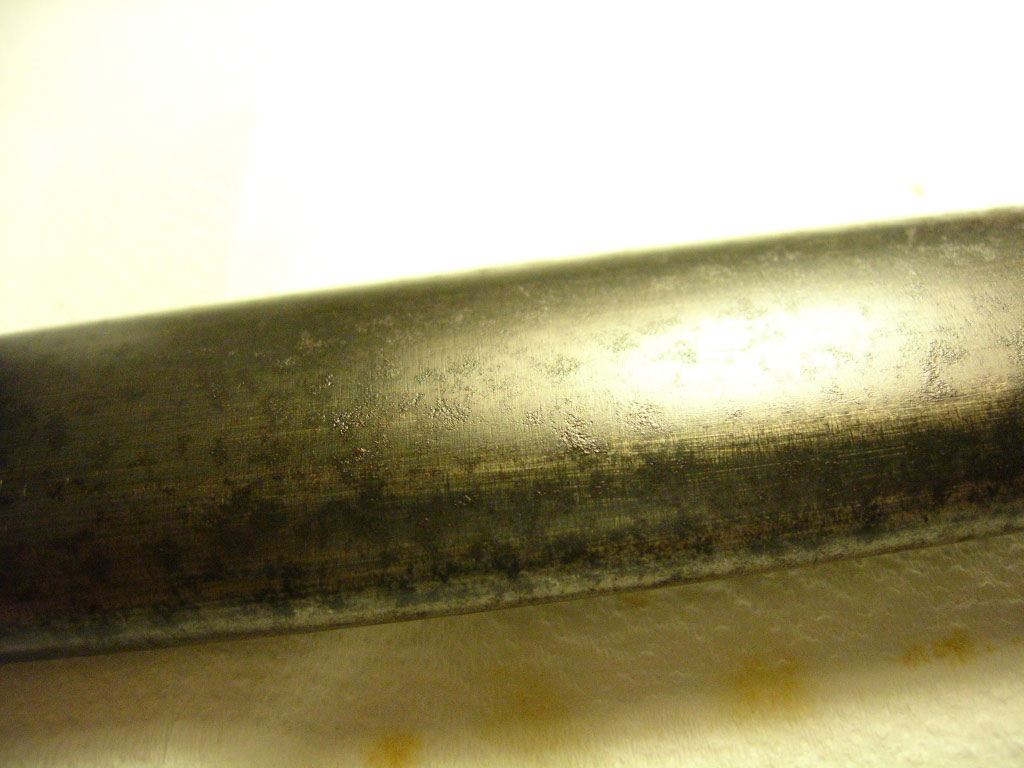
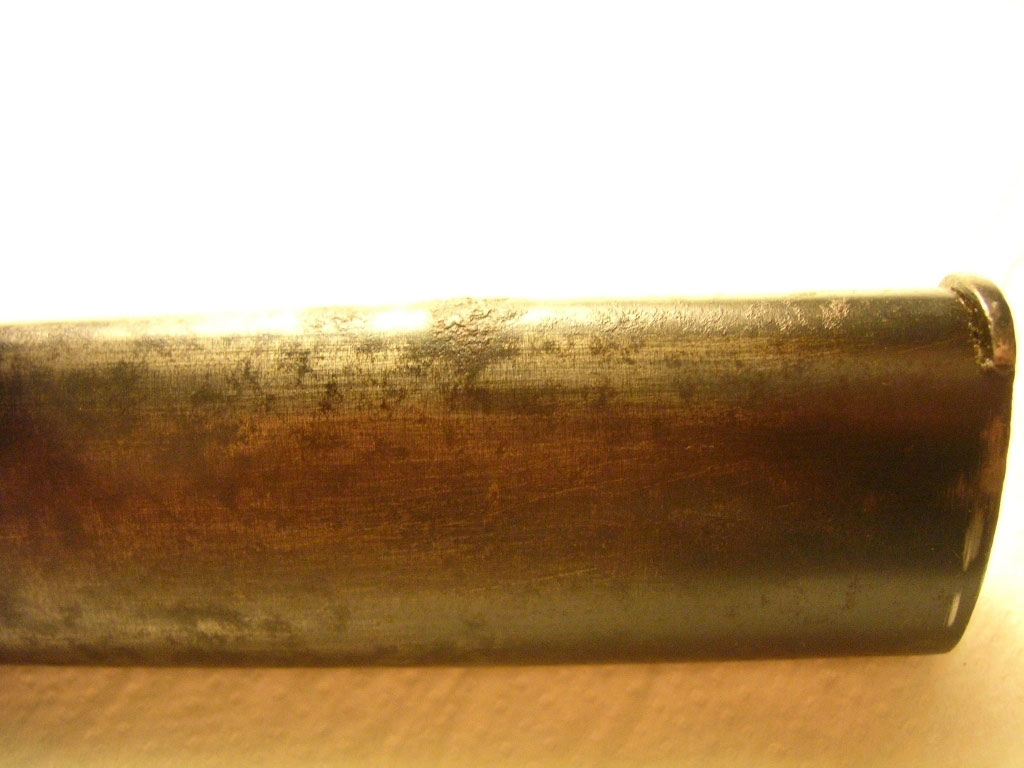
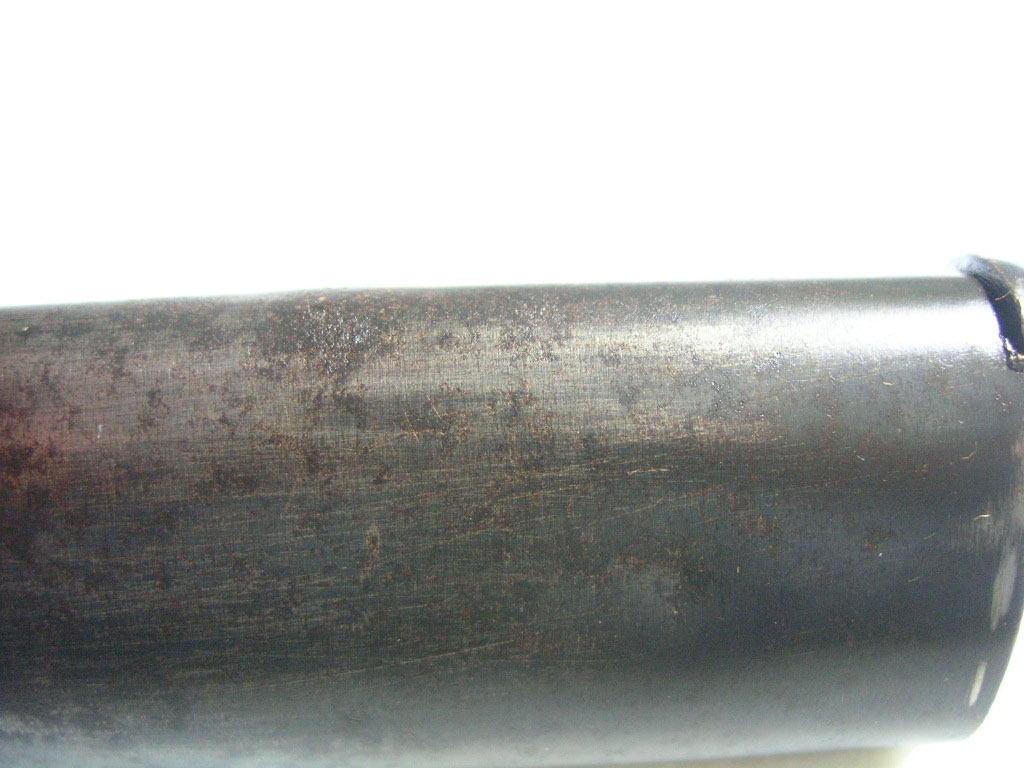
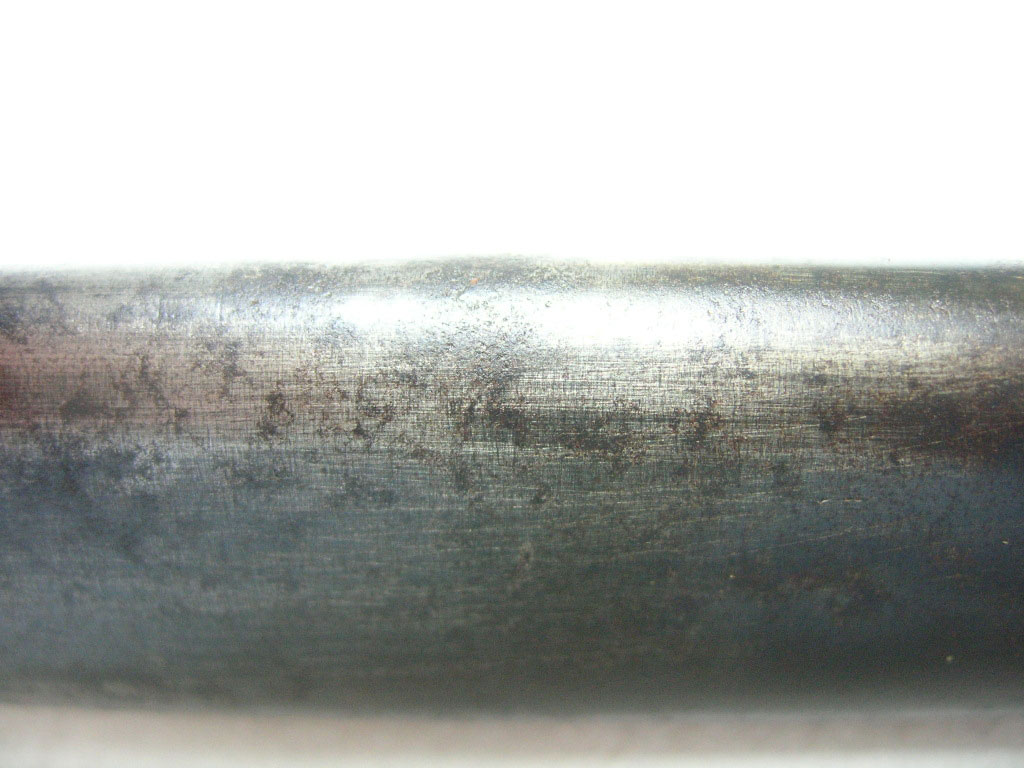
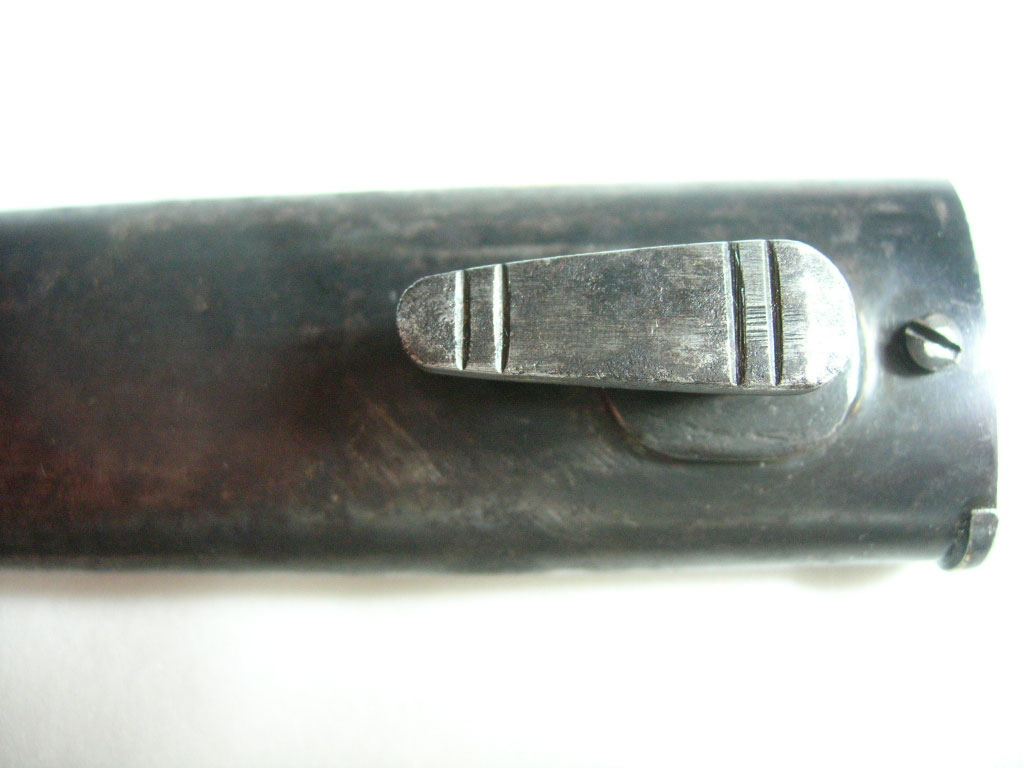
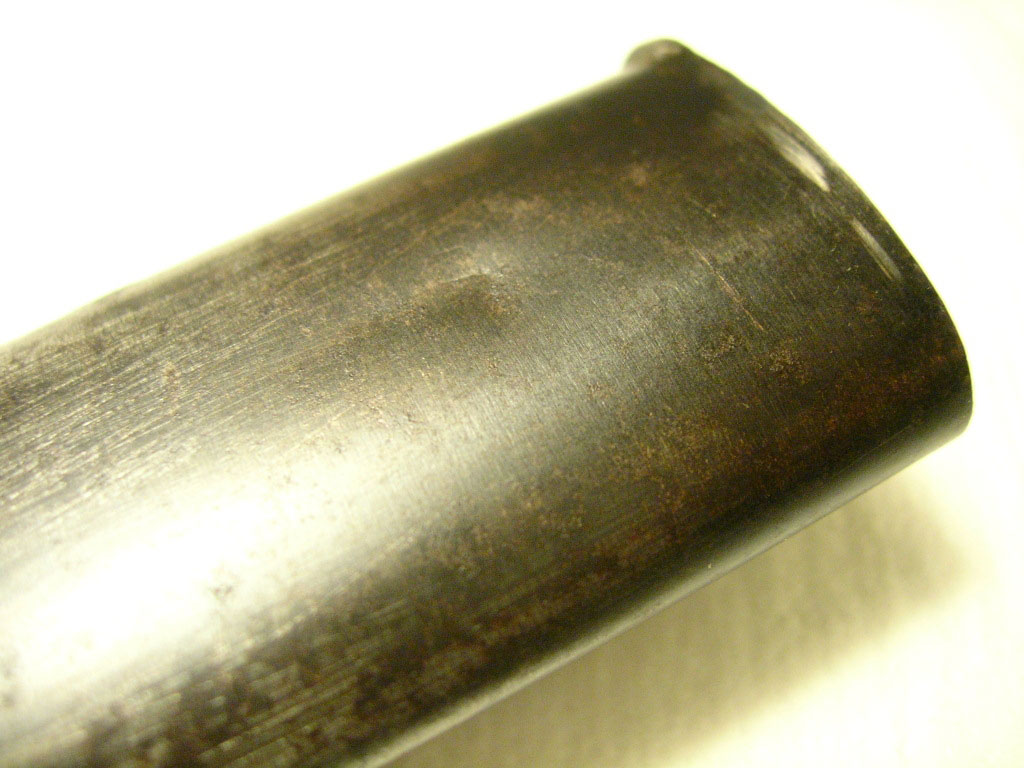
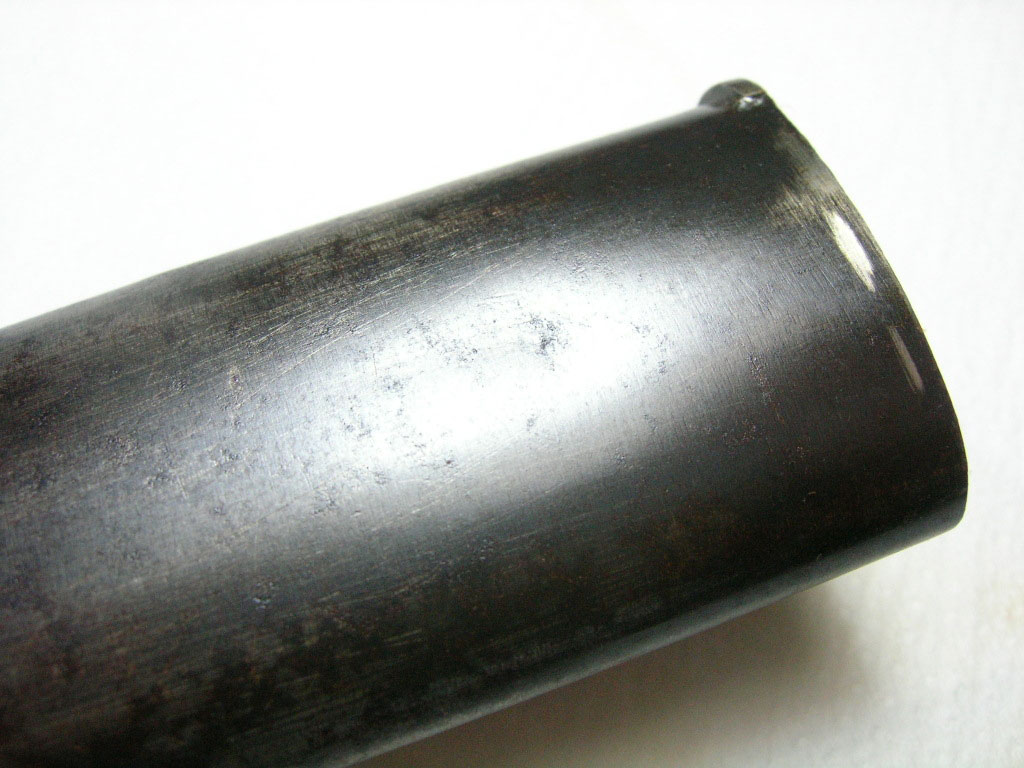
Once
this rust disappeared, we can remove the
small close rust patchs.
Now, our work will be done on the side of the scabbard.
We have to be careful because the steel become thiner.
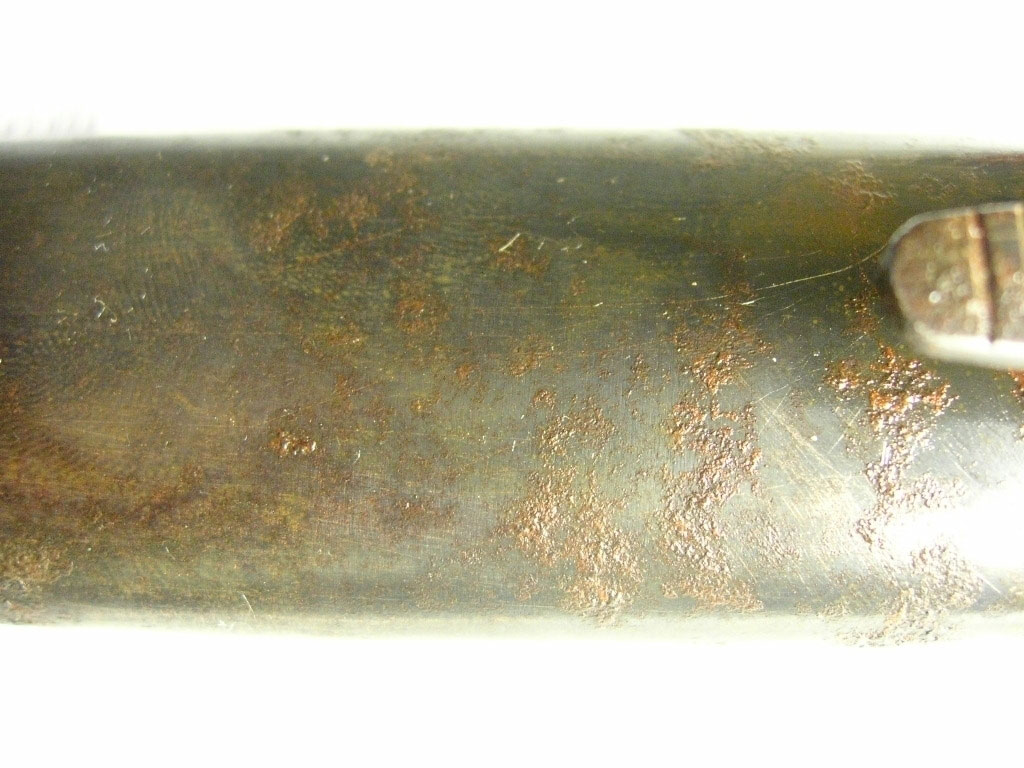
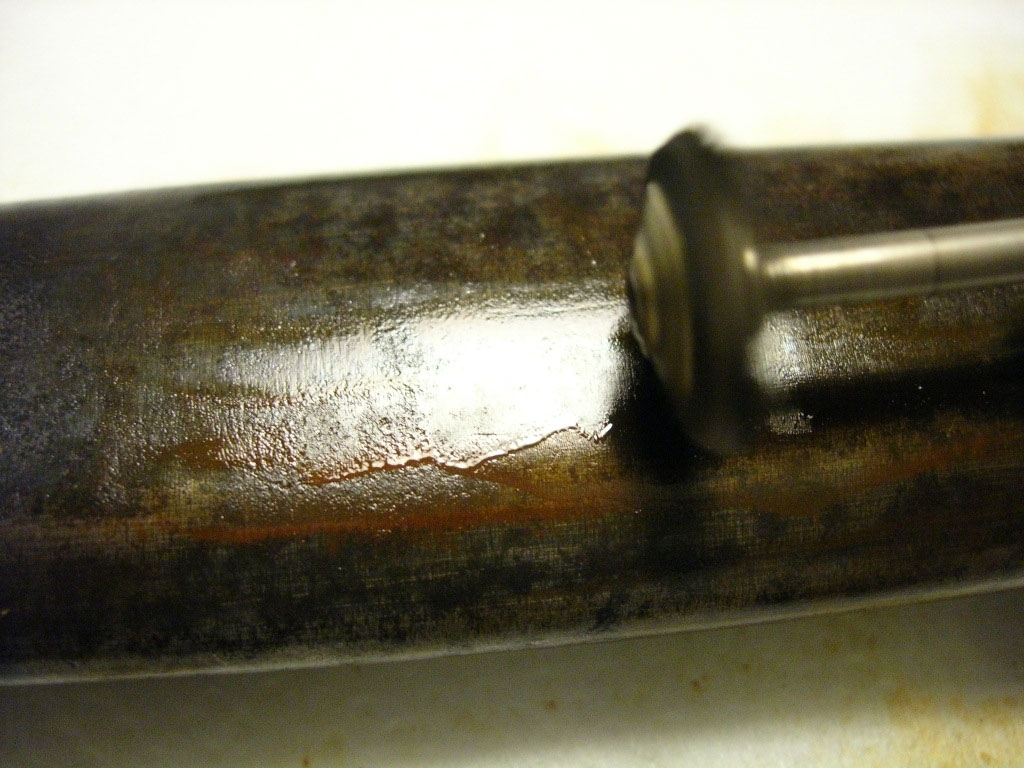
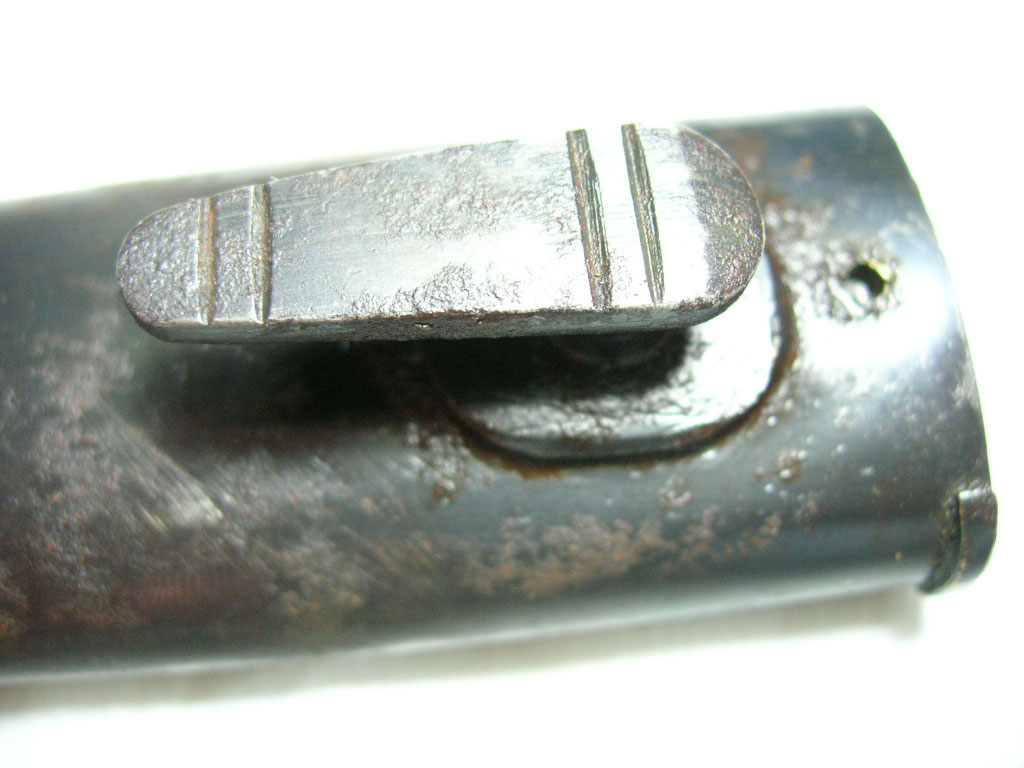
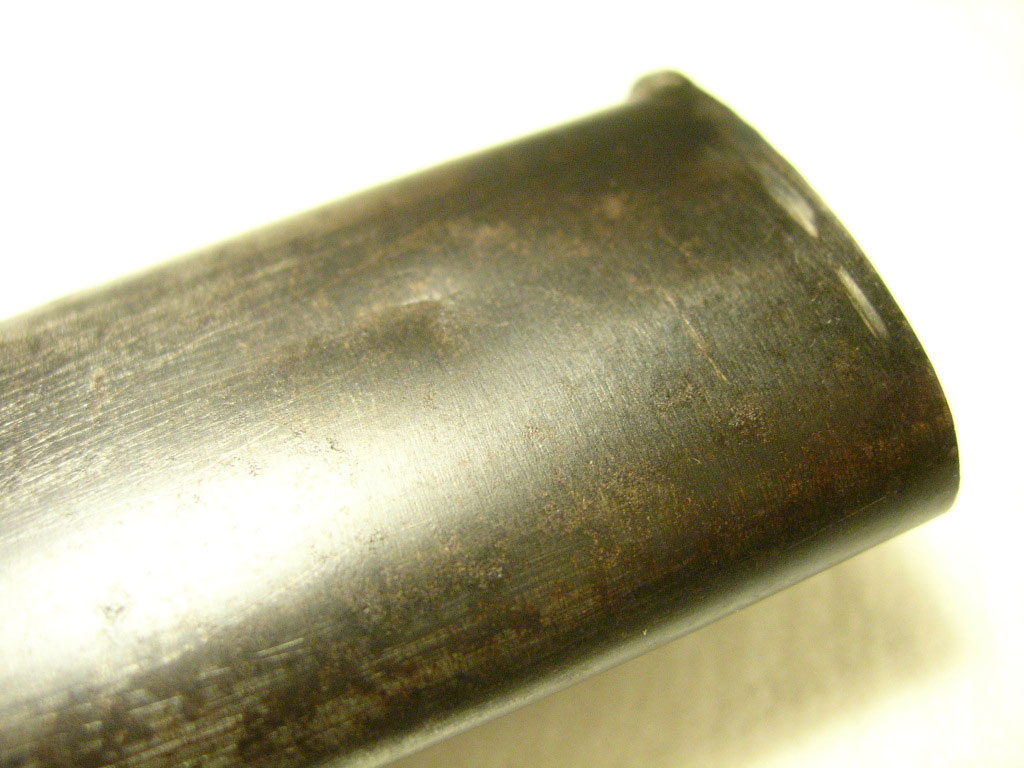
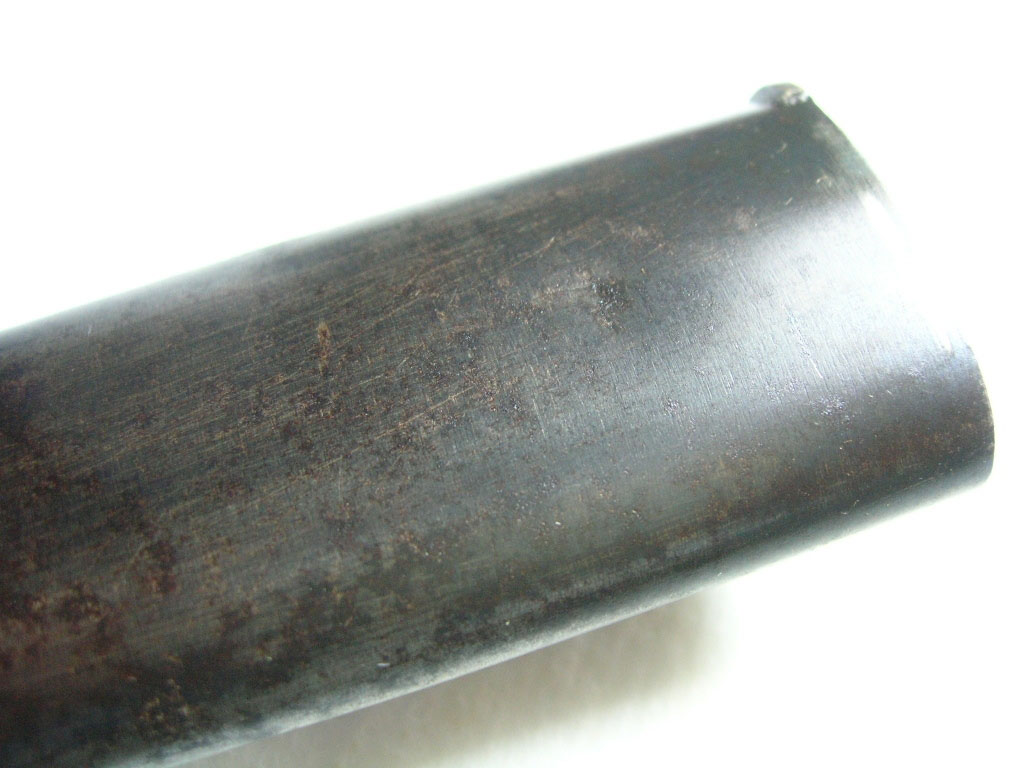
Until
then, work is relatively easy because the
areas are free of obstacles and steep angles. The most difficult is
located around the frog stud. We have tendency to file the stud edges
and to digg in the cylinder with the side of the file.

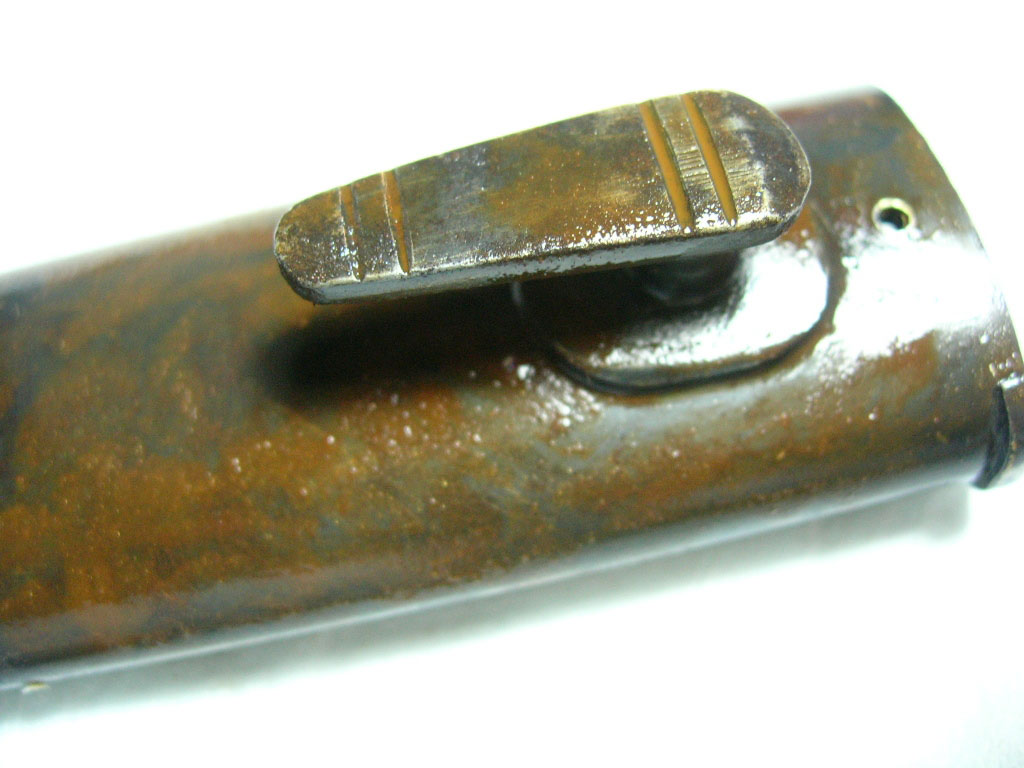
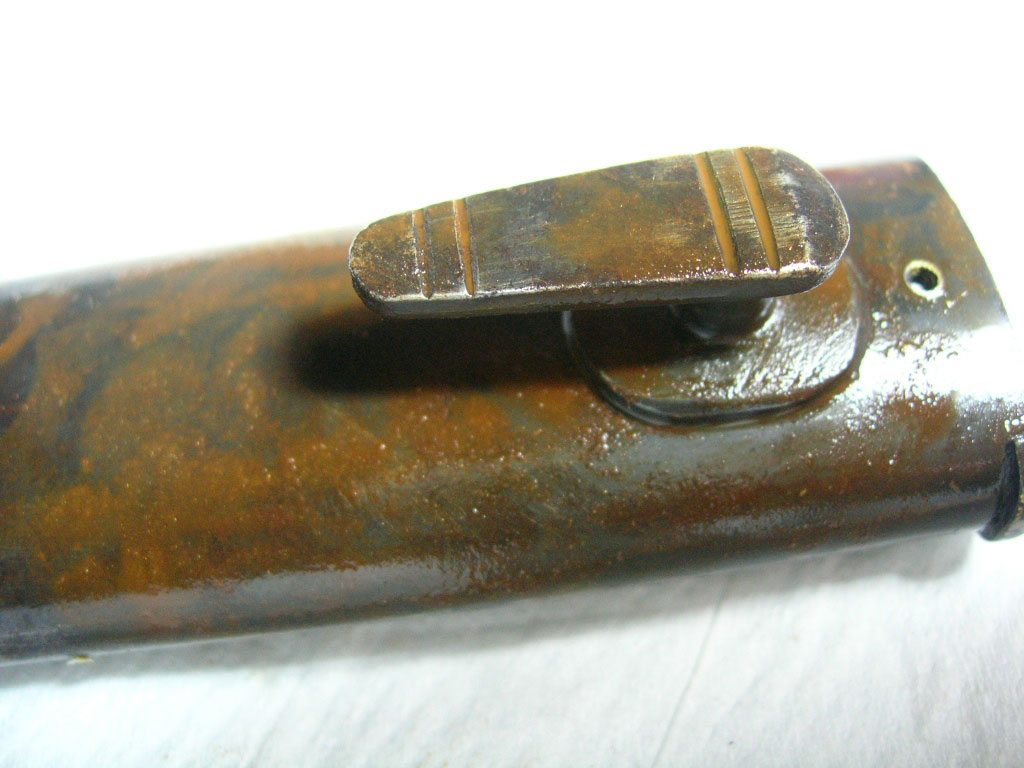
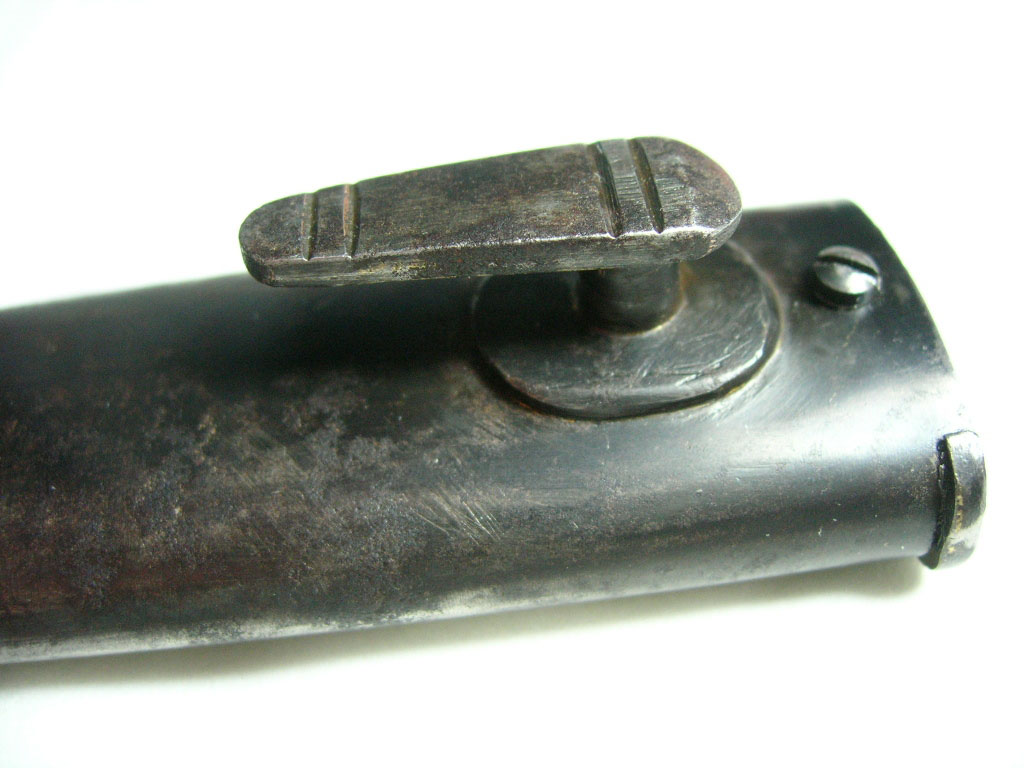

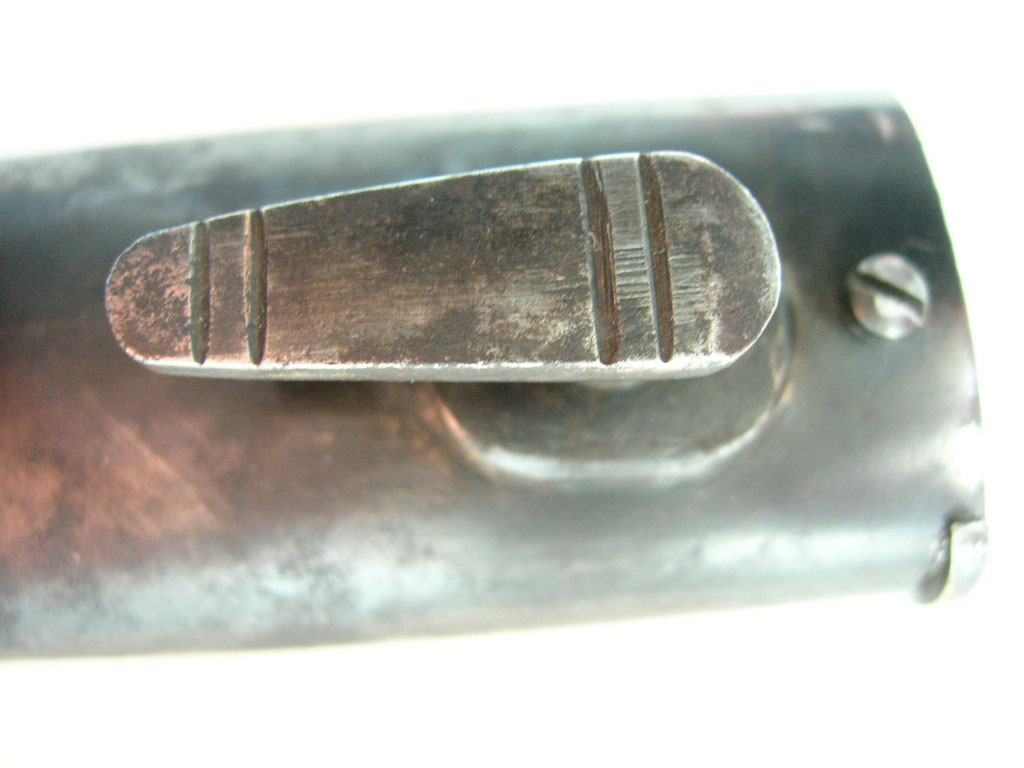
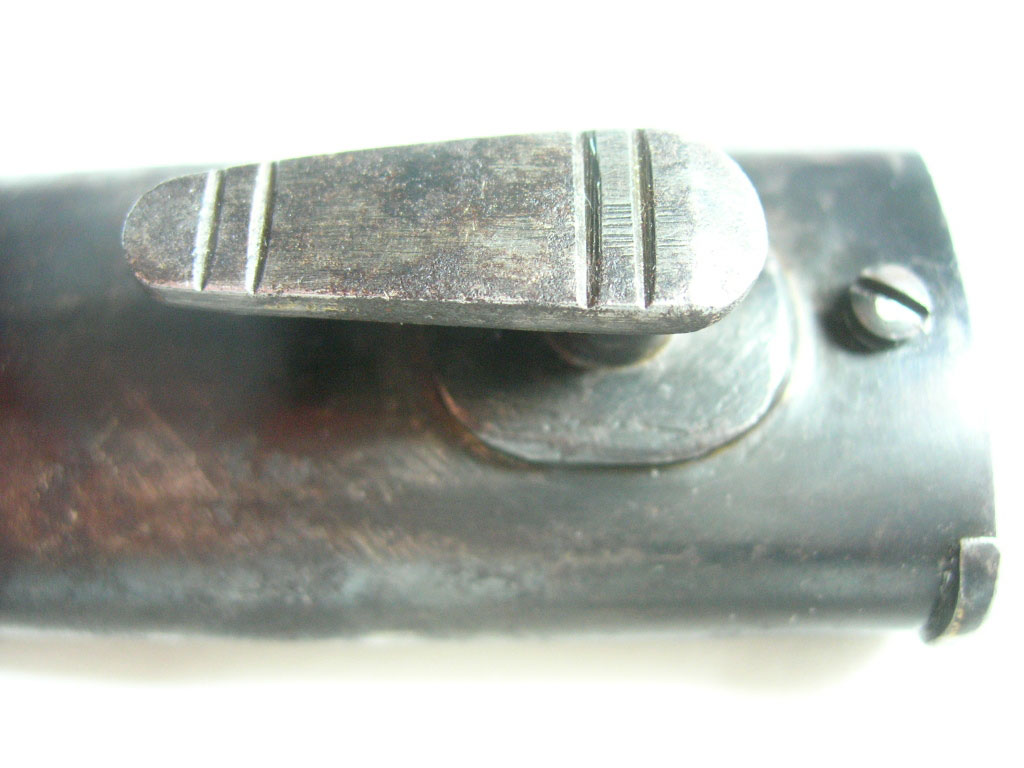
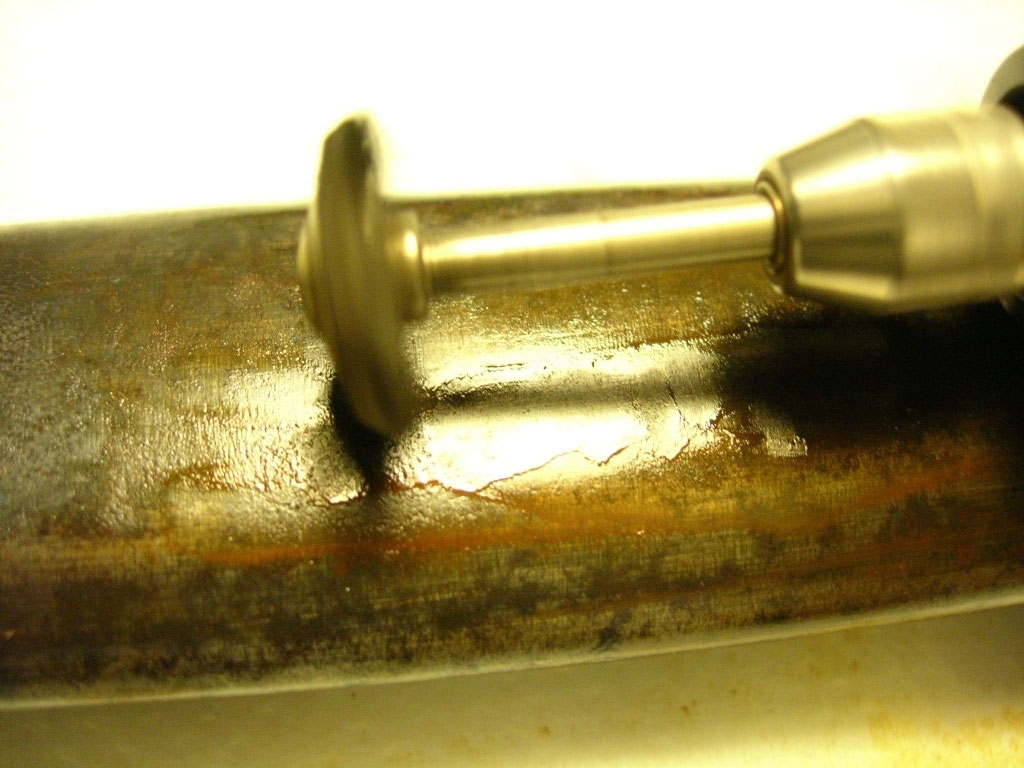
To
get a good result, we must remove the screw
which retains the internal springs. As often the rust jams the screw
and it is difficult to remove it with a screwdriver.
If the oil and
time have no effects, I advise to give up because the screwdriver may
enlarge the slot, or worse : break up the screw head.

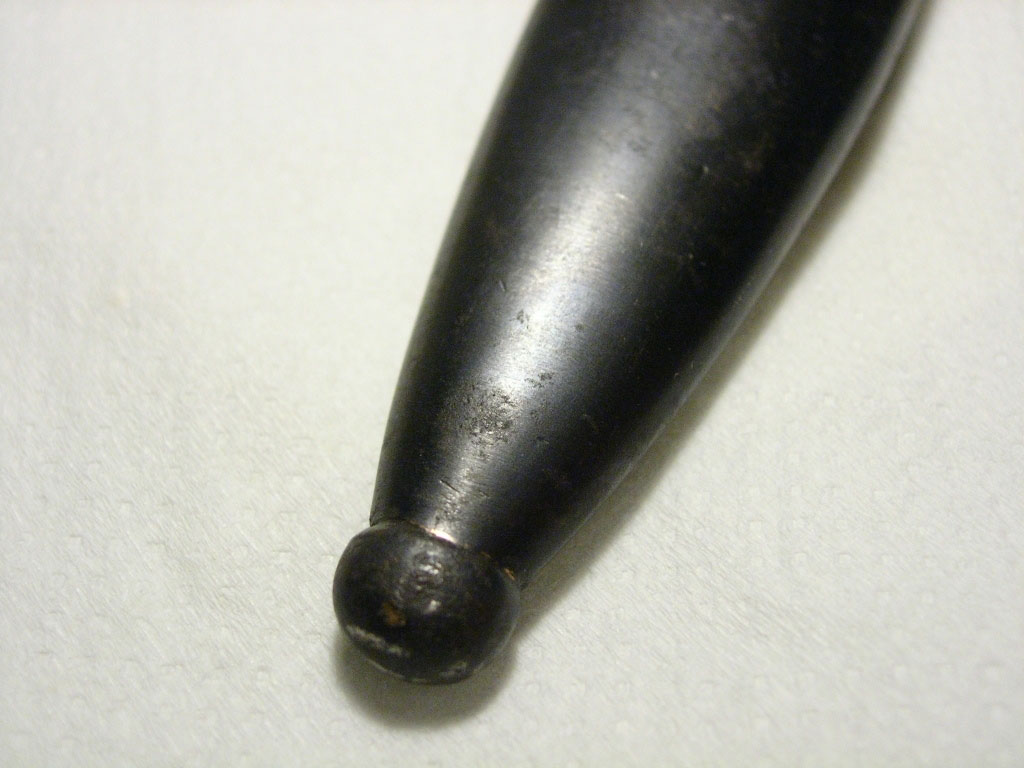
Now we can improve other
areas, including the lower scabbard.
Take care with the ball-tip. The advices about the frog stud are also
valid here.
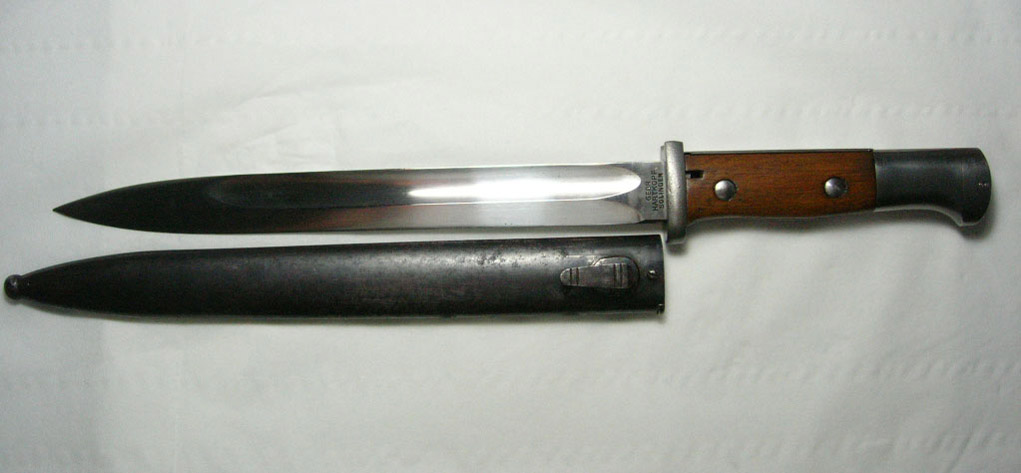
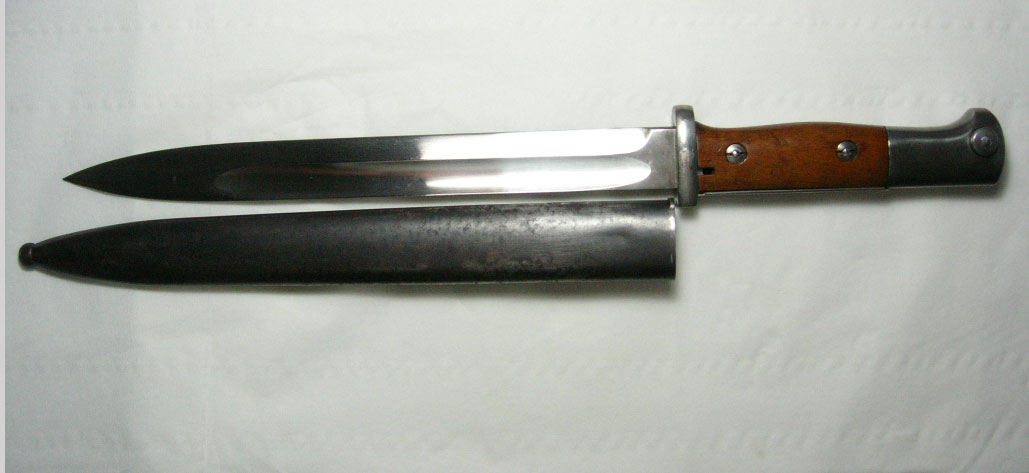
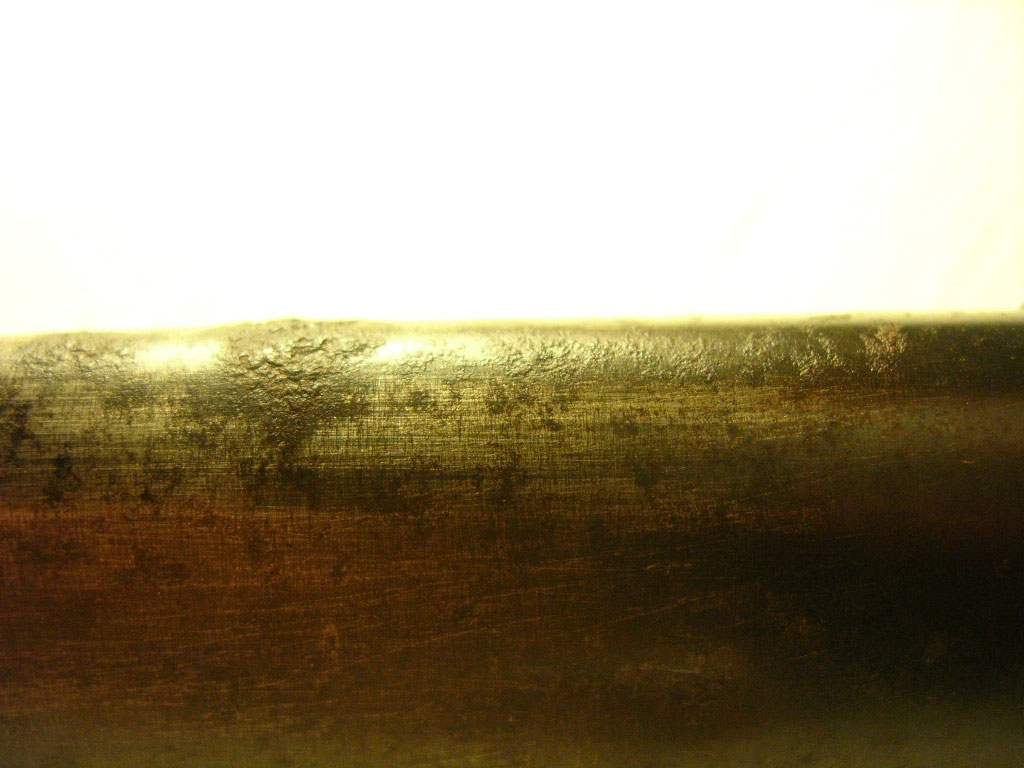
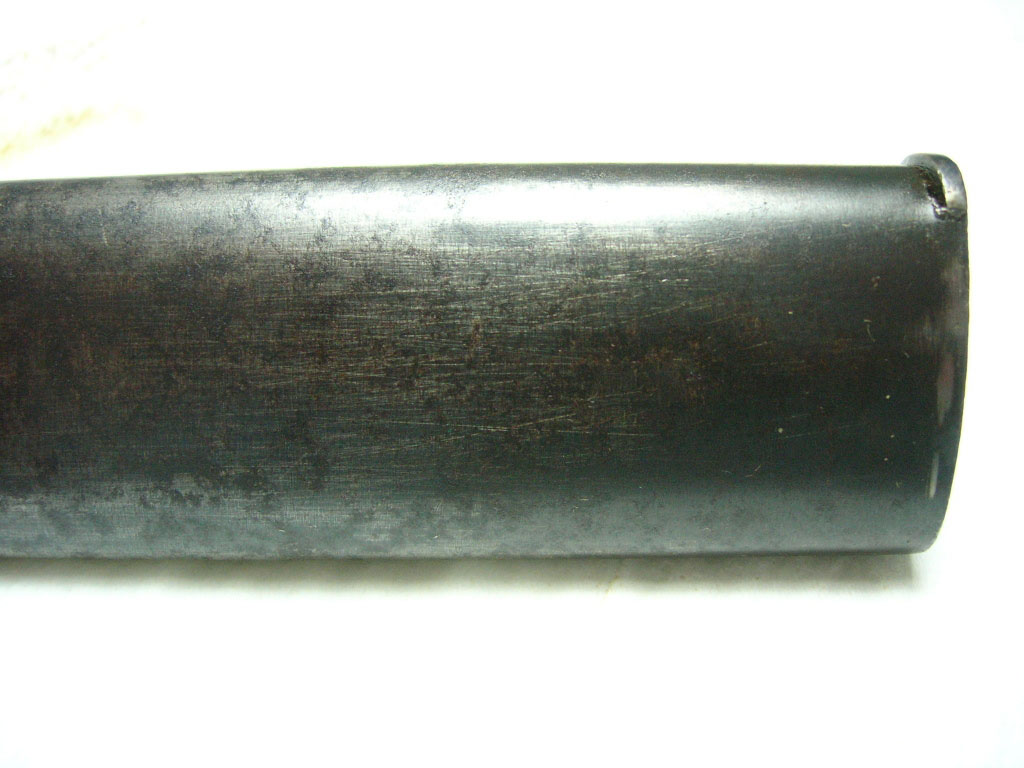
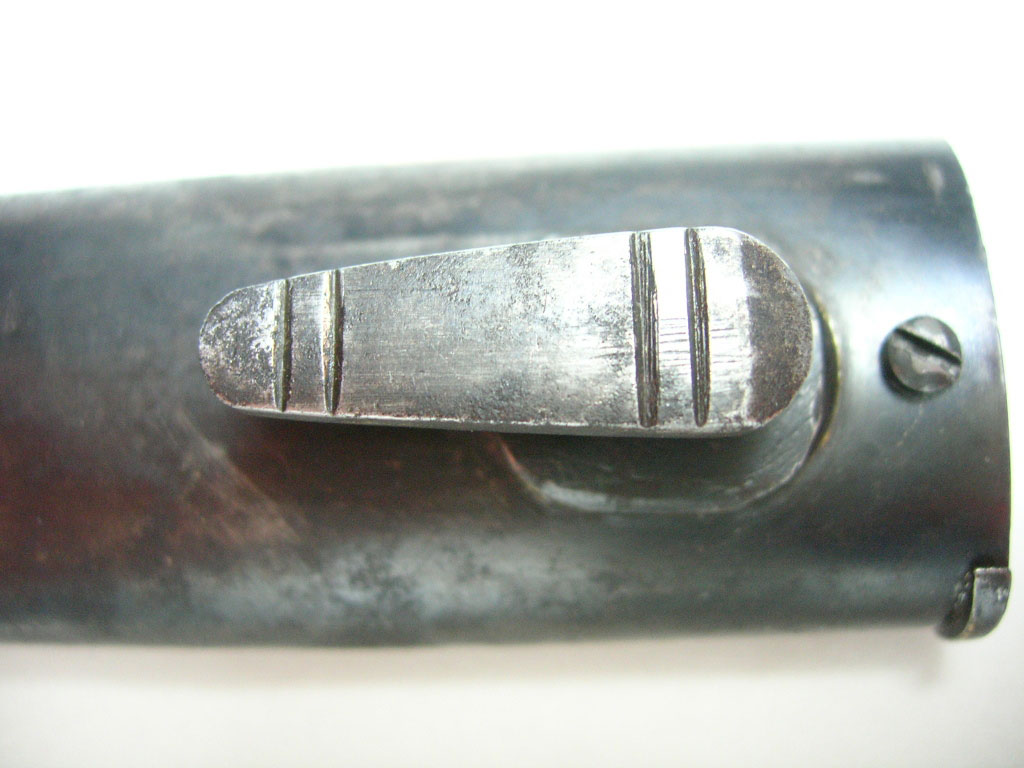
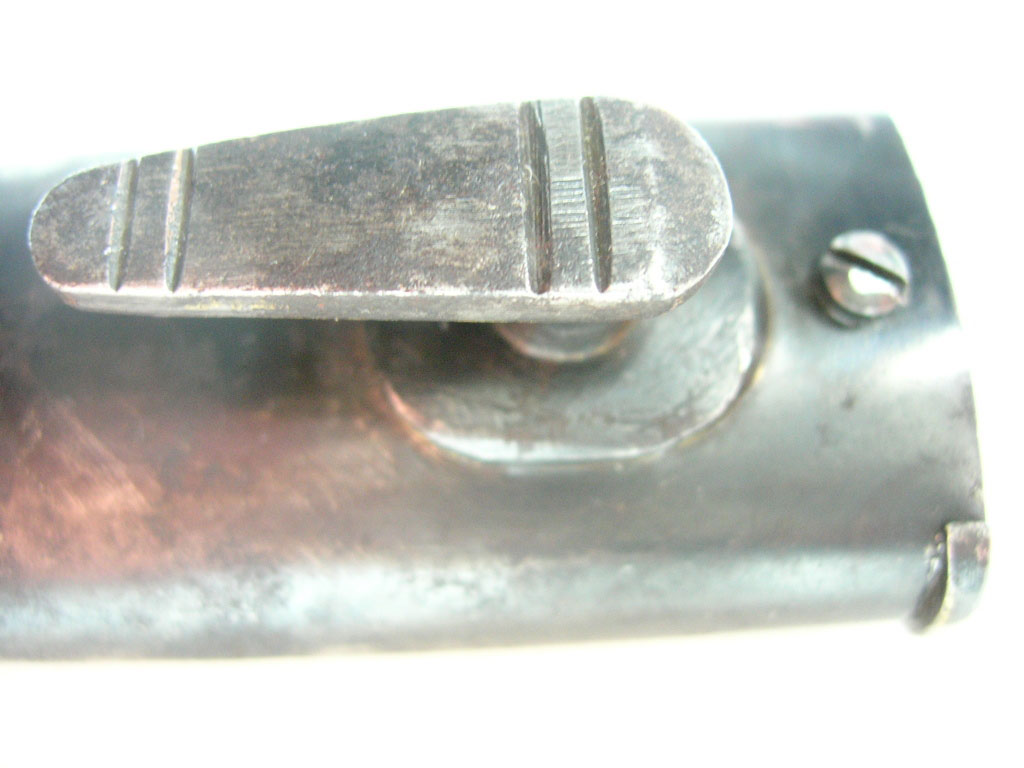
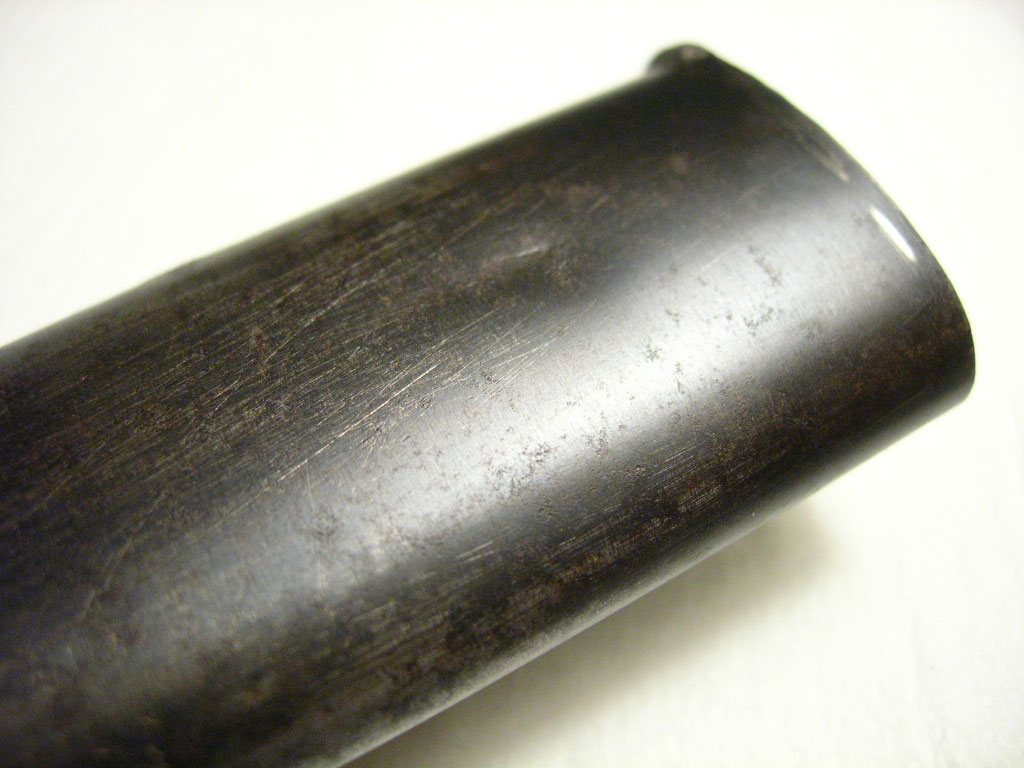
That
work is finished and we only have to watch
the work as on the first 2 photos.I always let new oil soak on the
surface in the
small crevices for one night. This is important because it stops the
process of internal rust.
There is no doubt that this work is long and pretty boring and it requires some patience. Once this hard work is done, the bayonet looks nice, not like its repugnant aspect with all the rust. If we take care not to dammage the original blue, we can assume that the scabbard has regained its original condition. Many collectors do not want to remove this rust thinking that this is a part of the heritage of the bayonet and that it modifyes the original appearance. We can see here that this is not true and this work is far from the bright polishing done by sellers hoping to make better sales.
